The Taming of the Sennheiser MKH8050

The 8050 in production sound

On paper, the Sennheiser MKH8050 initially appeared to be a step forward from the MKH50; with a compact modular design, low noise, extended frequency response and a tight supercadioid polar pattern. However, it didn’t really catch on in production sound. The extended bass response is brilliant for music and FX recording, however once mounted on anything that moved, it proved very difficult to get rid of it. This has relegated a lot of its use to fixed mic positions, such as mics on stands for interviews or plant mics.

MKH8050 vs MKH50

Compared with an MKH50, a lot of people experience the MKH8050 as less directional and having uncontrollable bass response. Both these issues are connected, as any microphone is less directional at lower frequencies; once you start to get rid of the low end it becomes much tighter and more controllable.

Manufacturing tolerances on the MKH8000 series seem to be more consistent than the MKH50 etc too and it does have a bit of high frequency boost which can help with loss from windshielding. Another issue with the MKH50 is part of the calibration process can render the capsule susceptible to noise from digital RF at certain frequencies, leaving a bit of a ‘roll of the dice’ whether one works for you or not.

Although the MKH8050 has a much smaller body than the MKH50, the capsule is the same diameter, which results in similar low noise floor figures. The microphone preamp electronics are also incorporated into the ‘capsule’ section, the MZX8000 XLR section is just an XLR.

First Impressions

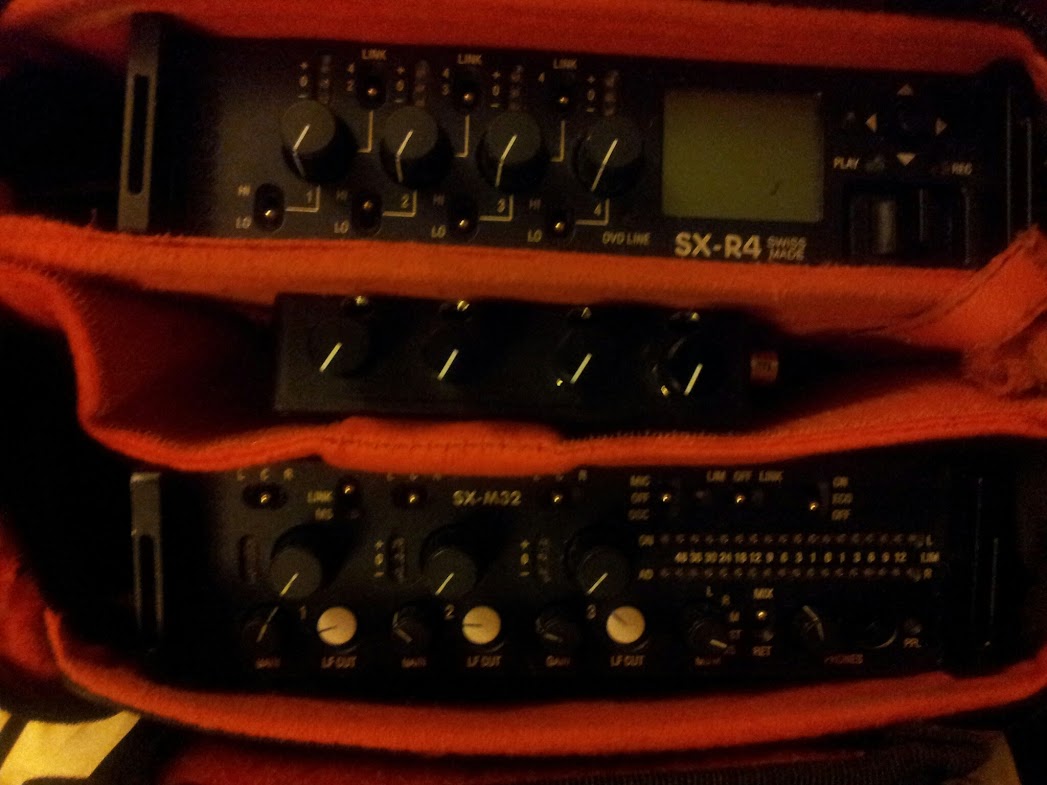
Initially I started using the 8050 with a Rycote InVision mount. This does provide some isolation, but they mainly dampen vibrations horizontally and less so vertically. A lot of this was with the inbuilt low cut filters in the mixer or recorder. On the Sonosax SX-M32 there’s a 1st order (-6dB per octave) passive filter set at 130Hz and then a sweepable 2nd order (-12dB/8ve) filter. Using a bit of both did help, however the set up still needed improvement.

Rycote InVision rig with prototype Baseball

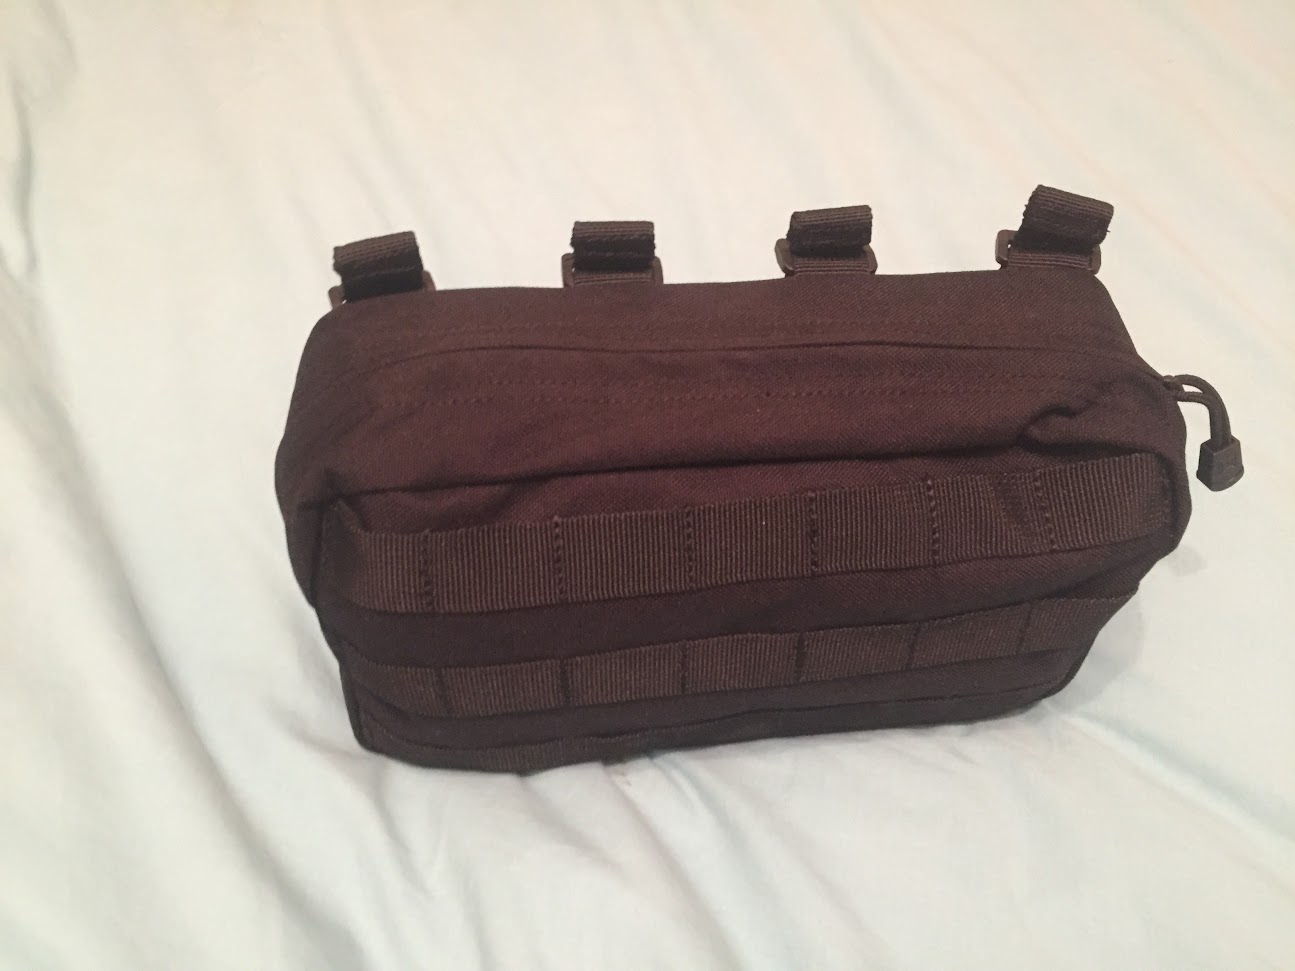
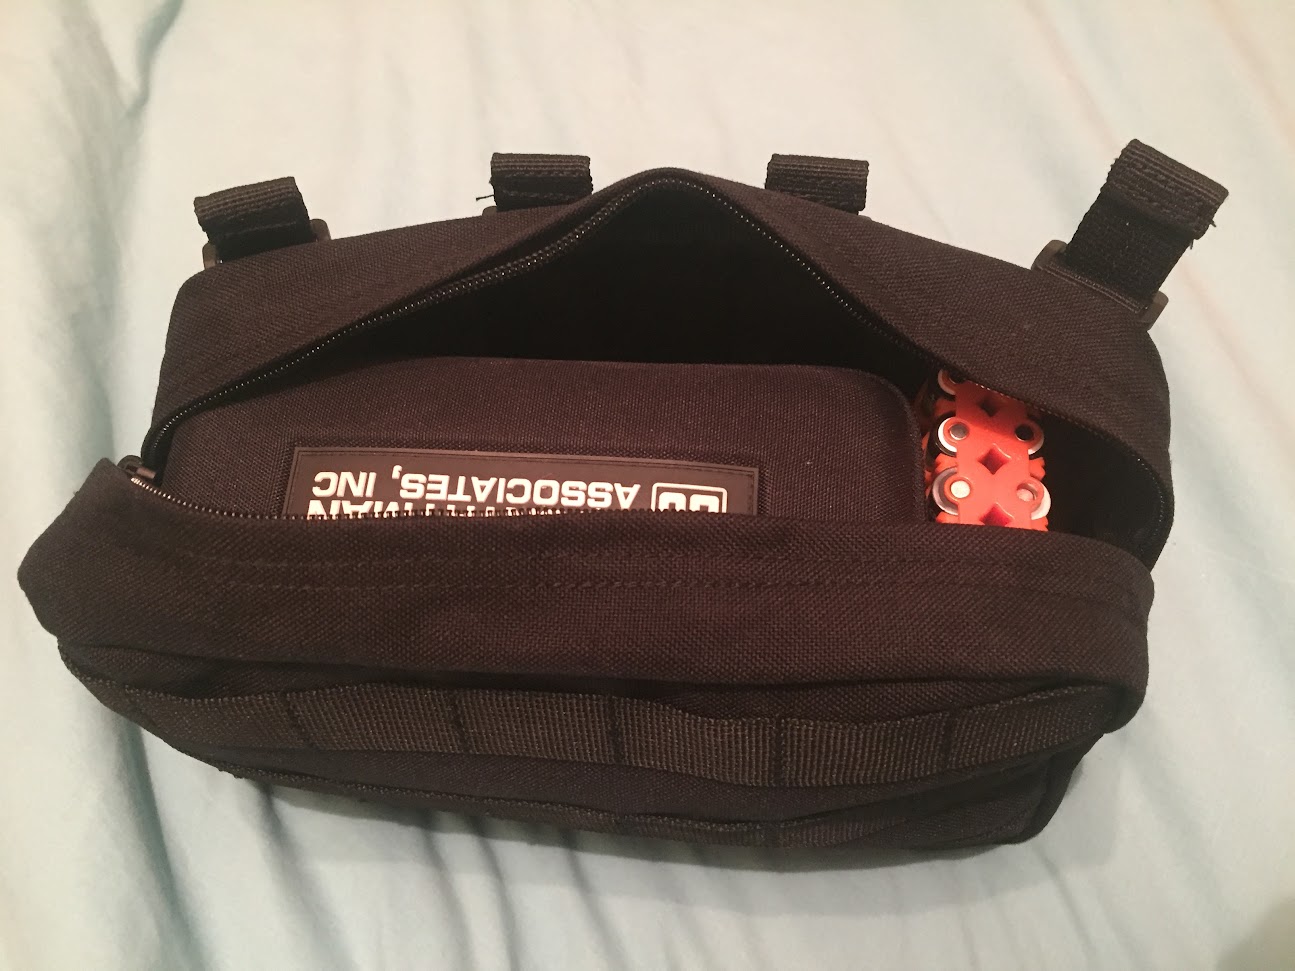
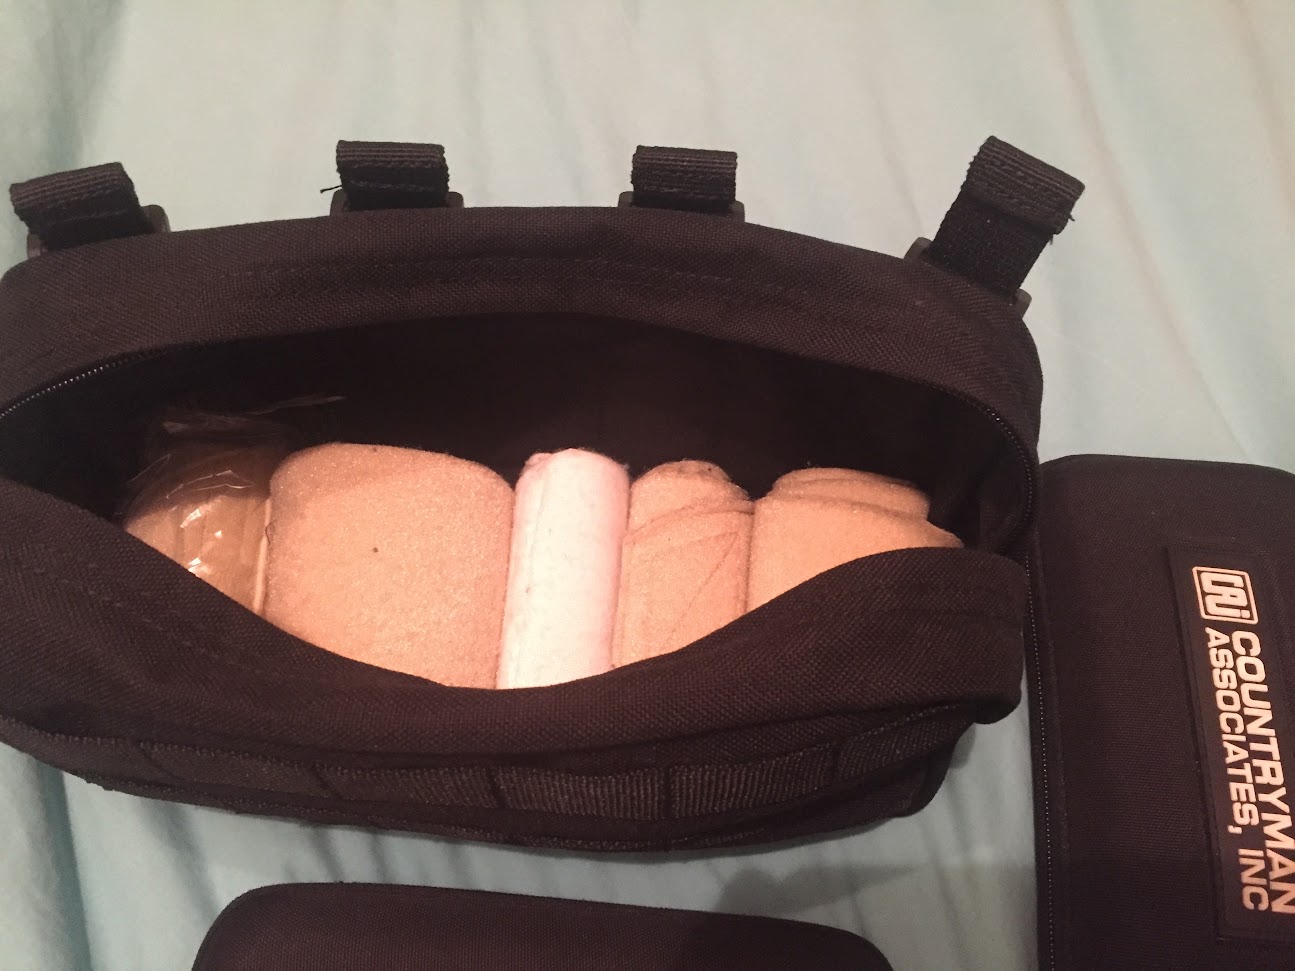
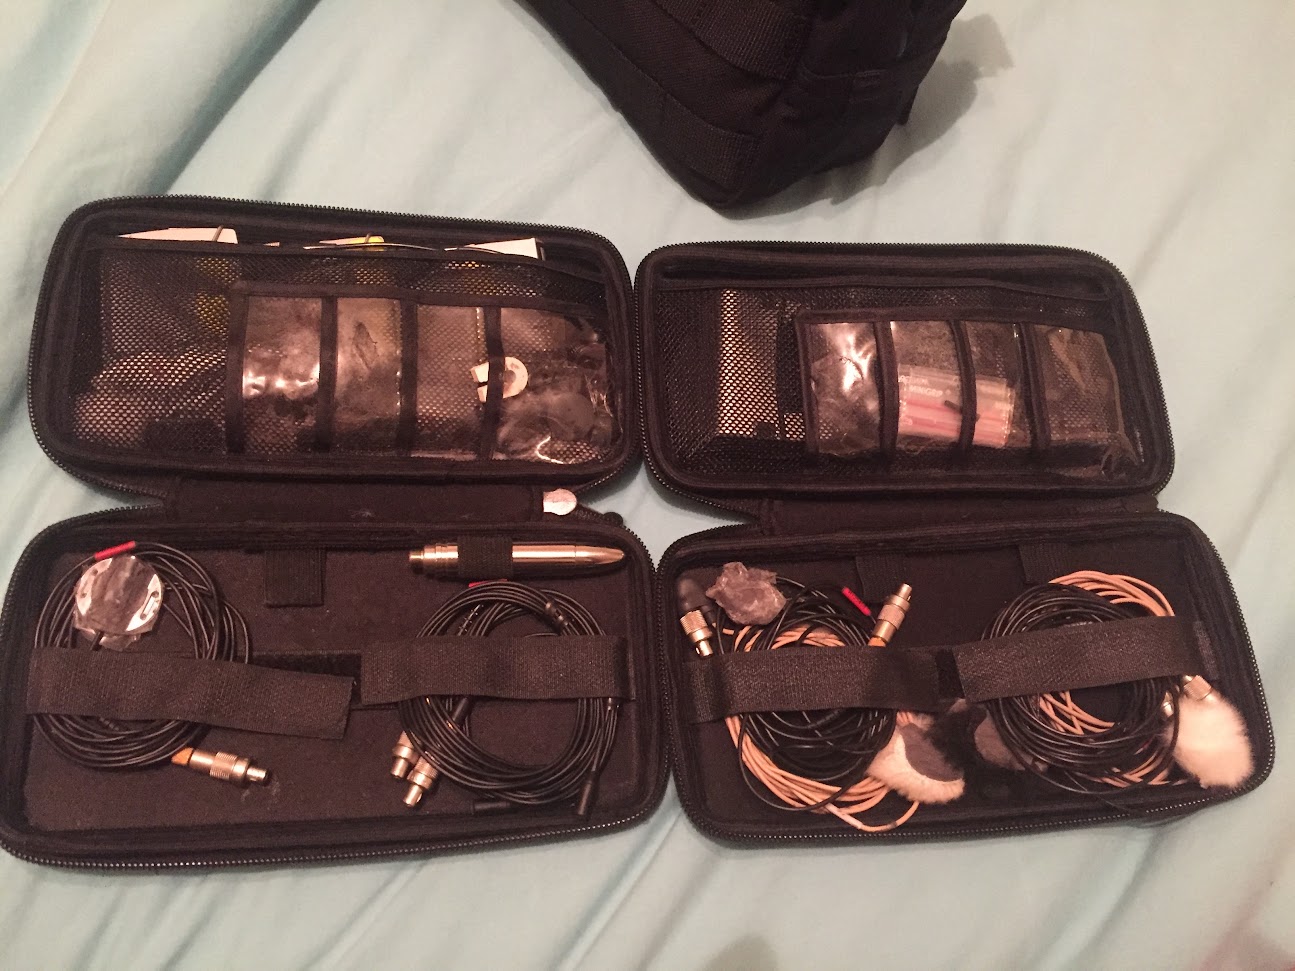
Suspension improvements

It was now a case of getting a bit more serious with suspensions. The Cinela suspensions are specific to indoor use and can help in both vertical and horizontal axes. They’re also each made for a specific microphone setup. I managed to pick up some very early cinela suspensions for the MKH8000 series with the XLR output. The more common suspension would be the very low profile Minix-8000, this is fine when there is low cut after the microphone, but not the best choice when this isn’t possible. I’ve since added a couple more Cinela E-Osix suspensions for the MKH8000 with MZF8000 module. More recently the Radius RAD-1 and RAD-2 suspensions have been released and these seem to work well with the softer lyres. The lyres are also compatible with Rycote modular windshields.

Early Cinela Osix for MKH8000

Going Wireless

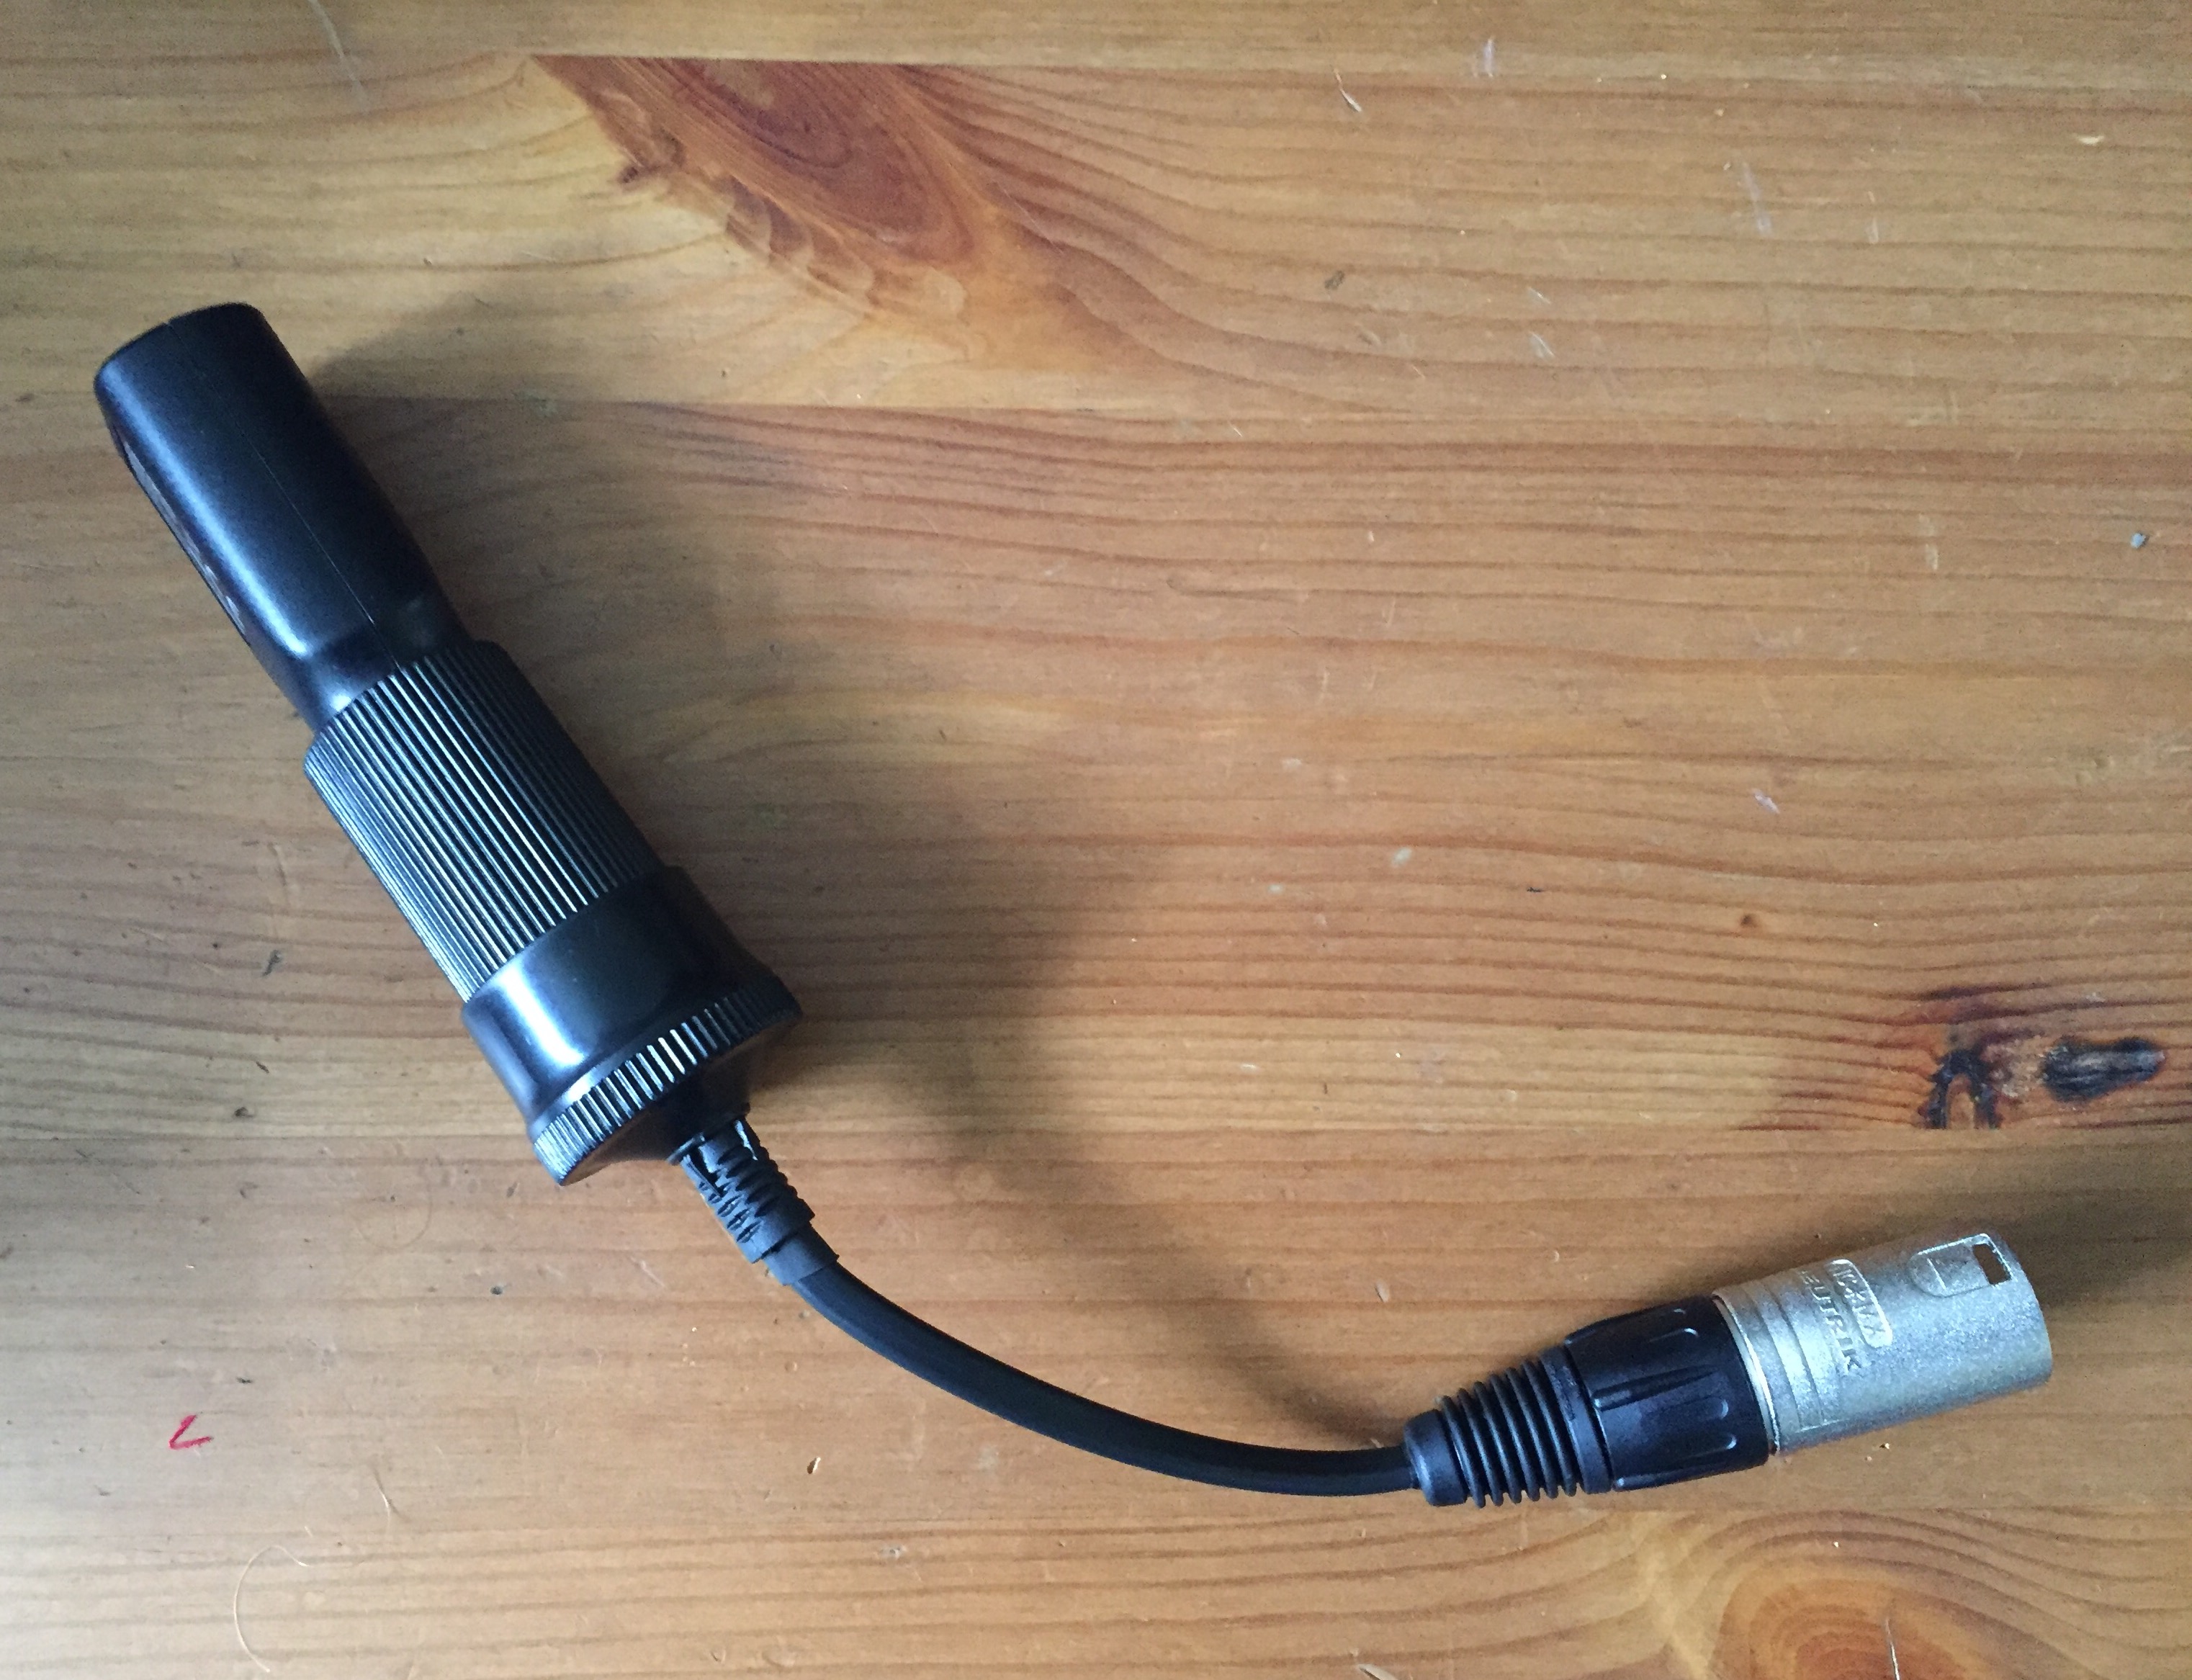
The use of wireless boom setups became another issue. In this case the low cut filter on a lot of transmitters isn’t as steep as on recorders, and often a gentler 1st order filter. Even if a steep filter is used on the recorder, the low frequency energy going into the transmitter can cause overloads, and the compressor in analogue may be pushed much harder, resulting is some nasty overmodulation before the signal gets to the receiver. Rycote made a phantom powered ‘Tac!t’ cable for a while, which contained an active 3rd order (-18db/8ve) 80Hz low cut filter. In some situations this worked really well, with analogue RF, however some had issues with interference with mobile phones (I believe this was the reason it was discontinued).
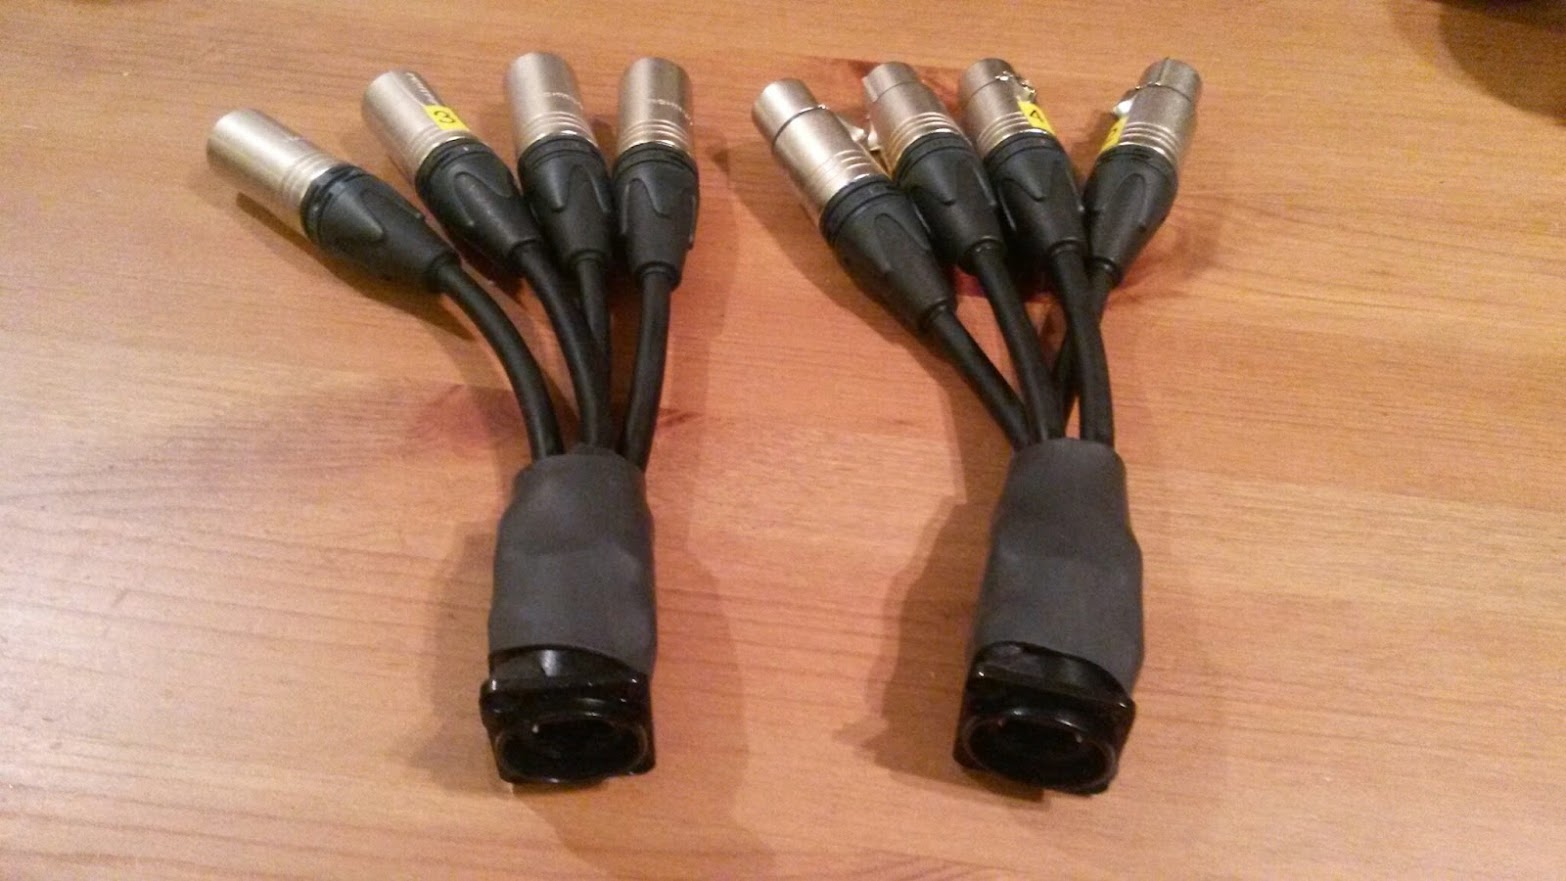
Rycote InVision with Tac!t cable
Tac!t circuit board

The Secret MZF8000

Using digital wireless the interference issue with the Tac!ts got worse, they picked up interference and just added to the noise floor significantly. Audio Limited A10 transmitters (now Sound Devices) have a steep 3rd order filter built in, however other manufacturers don’t have this. Sennheiser have always made the MZF8000 filter module for the MKH8000 series, however it’s only a 120Hz 1st order filter, which helps with countering proximity effect but not much more. A few years ago Philippe Chenevez from Cinela mentioned a special order MZF8000 with a 3rd order 70Hz active filter after a customer had requested it. I managed to order a couple and they worked very well. This has now become the MZF8000 II and is available from dealers.

Special Order MZF8000 marked “cut off 18dB@70Hz” in Radius RAD-1

Swoosh

Having a high sensitivity mic on a pole can render it more susceptible to wind noise. Although the stock foam does a bit, it really needs a bit more help. The Schoeps B5D looks like normal foam, but it’s got a cage to hold the mic in place and a hollow cavity inside which creates a buffer of still air around the mic- it’s a mini windshield system! An issue is that this is made for the Schoeps collette series which have a 20mm diameter, while the Sennheiser MKH8000 are 19mm. I get around this by putting a rubber o-ring around the mic. Radius make a similar product called the Mushroom without the cage for the mic (so you need to mark how far the foam should go).

Wireless boom rig with Cinela E-Osix and Zaxcom ZMT4

Summary

Once under control, the 8050 can be an excellent boom mic, with high sensitivity, a low noise floor and a tight polar pattern- but it might require a bit more thought to get this working. The processes mentioned have also helped a lot sorting out other microphones and suspensions, it’s just the that the MKH8050 is a particularly extreme example.

Alternatives

Alternative small diaphragm supercadioid microphones without interference tubes are:

DPA 4018 – modular microphone using a pre-polarised design and can withstand very high SPL. Will work to spec from a 5V power supply
Schoeps MK41 – one of the ‘industry standard’ boom microphones- generally considered to have a “natural” response
Microtech Gefell M41 – part of the Gefell M400 series, not tried this one.
Rycote SC-08 – cheaper option with pre-polarized design and has good specs. Frequency response starts at 60Hz so may have built in low cut
Sennheiser MKH50 – previous generation RF condenser design, another ‘industry standard’, generally considered “punchier” than the Schoeps

There are also some cheaper hypercardioid options, which have less side rejection and a smaller rear lobe. Some of the more popular choices include the Audio Technica AT4053b, Oktava MK-012 and Sontronics STC-1


32bit float – Is there anything to Gain?

High dynamic range analogue inputs

We’re getting to a stage where most professional recorders (and a number of ‘prosumer’ ones) operate with analogue inputs capable of capturing very high dymamic range. In fact, some have little or no amplification in front. For example, the Sonosax R4+ and AD8+ which I’ve talked about before in more detail. Some specs quote 135dB+ of dynamic range- that’s equivalent of being able to capture a pin drop to a jet taking off.

This is usually done with the signal being split between more than one analogue to digital converter chip, with each set to different sensitivities; converting the voltage level to a digital value. It’s like recording the same source to 2 inputs with different gain settings for safety- but it’s combined as the same signal.

24 bit converters (even multiples) can’t actually reproduce 24bits accurately though. That’s 144dB. Or in plain numbers 2^24 = 16777216 different values. We’re currently maxing out around 23bits (138dB) .

Analogue garbage = Digital garbage

So we have these wonderful converters- what about our wonderful analogue sources? They can’t manage as much, now- we’re limited by physics with microphones. Smaller diaphragms have more uniform frequency response but higher noise. DPA have a good overview of this on their website. Also condenser microphones always have an equivalent input noise level, which is their ‘base level’. If the sound you’re trying to record is around the level of the input noise- you’re recording a lot of the input noise compared to the source. You’re not going to be able to get around this with amplification or conversion as the issue is at the microphone. Even if your microphone can manage over 120dB dynamic range- it has to be at the right level, if the signal is down in the bottom 20dB or so then it’s going to be fighting the noise. Adding to this is the amplifier noise- it’s lower but will add to the noise floor of the microphone.

What is Gain any more?

In a lot of cases, the gain knobs in our machines aren’t controlling a mic preamp any more. It’s controlling digital gain- just multiplying the signal by a number, which is exactly the same case in post production where you have a waveform and want to make it louder or quieter and add or remove gain in the editing software. It doesn’t change what’s coming in, just the level of what gets sent to a track.

What’s the floating point?

Once the audio is in a DSP system (such a digital mixer), any changes made are with mathematical operations- multiplication, division, addition, subtraction. This means that the numbers in these operations can get significantly bigger. Once you’ve already got a 24 bit number, and multiply it by something- even if it gets divided again it needs space for more digits. With fixed point calculations, that’s exactly what happens- some systems use 40bit or 56bit numbers for calculations.

Another way of doing this is to ‘move the decimal point’. To make a simpler example, say your biggest number in a system is 99. Using fixed point arithmetic it can’t change, however if you could add a decimal point, the 99 could be expressed as 0.99, 9.90 or 99. What was 100 different numerical levels is now 10000.

However, if you make a calculation which results in fraction or irrational number- you end up with a load of digits. If the decimal point moves again, you’ll need to round the number to the nearest digit, so some precision can be lost with these calculations.

Both higher level fixed point and floating point allow levels higher than 0dBFS to exist within the system.

32bits = 24bits (or 23)?

Something floating point numbers require, along with the value is to record where the decimal point is. This needs another number. It also needs to record if it’s a positive or negative value.

Here’s a breakdown of a 32bit float representation base on IEEE754 format (standard for a lot of computer hardware systems) – (image licensed under CC BY-SA 3.0)


The sign bit sets whether the number is positive or negative, it’s -1 to the power of either 0 or 1. So, (-1)^0= 1 and (-1)^1= -1

The 8 exponent bits are to set where the decimal point is. If we were in base 10, to move a decimal point we’d multiply by a multiple of 10. So multiplying by 10^1 =10 would move the decimal point one point to the right. To undo that you’d multiply by 10^(-1) = 0.1. On the example, as we’re in base 2, we’d multiply by 2^124. However we also need to be able to go down as well as up. 8 bits allows 256 values, so IEEE174 allows the top 128 as positive and bottom 128 as negative, so 127 is taken away from that number. 2^(124-127)= 2^(-3)

The 23bits of fraction is the actual value we’re processing, however 24 bits of precision is possible with this method. Because the exponent dictates where the first part of the number will be, it’s always going to be 1 if there is an exponent- so we get a ‘free’ bit.

Output

So, what comes out at the other end? For us to hear it, it needs to feed digital to analogue converter. These can have similar performance to high end ADCs (i.e. 22bits+ of dynamic range), but even with the (theoretical) amplifiers and speakers to keep up with it, do we want to or can our brains deal with pindrop to jet engine? A lot of people are finding cinema dynamics too much- having to strain to hear dialogue then be deafened by an explosion. Some 32bit DACs may be designed to be fed floating point information, but the performance output won’t be any better than 23bits.

What is it good for? [TL;DR]

Given that we can’t get more than 22bits or so of useful information in or out of any system (and I’m not sure we need to), it doesn’t make a difference to inputs or outputs. 32bit float is very useful inside machines for making calculations and some of our gain controls are now mathematical operations done in DSP, rather than controlling analogue amplifiers. If you’re using a 32bit float recorder, your gain knobs are very likely to be controlling digital processes and nothing in the analogue domain. If the files stay digital as 32bit floating point files, the maths can be undone (try exporting a 32bit file in a DAW and re-importing it). If they’re ‘baked in’ at 24 bit with an overload, then there’s missing information in the file as it’s a number bigger than the file can use.

However, if you don’t do any maths to the input and leave it as is, then you’ll also get what goes in and the maths can be done later in post production. In some systems this may mean it’s difficult to monitor, though.

What’s it bad for?

Not all programs are designed to read 32bit float audio files. A lot can, but some picture editing programs can’t or may not. A lot of the time we don’t always know the post workflow, there may be ingest programs used or older software kept on to stick with a specific workflow.

If a program expecting a 24bit .wav file gets a 32bit float one, it’ll see it as a 24 bit file and not see any of the information above 0dB, so anything clipped will not be recoverable.

If you’re going to use them, ensure you do a workflow test with audio running over 0dB or if your recorder only records in 32bit floating point- don’t clip it!


Macbook Pro USB-C powering from battery

After getting one of the new macbooks, which only had USB-C ports, I initially thought there was a real advantage running the power through this.  The cable’s replaceable and can plug into any USB-C source, potentially making the computer a lot more mobile.

I’m often in situations where I’m away from power sources all day, so being able to use the computer here is very useful.  When working off a cart I use a 12V LiFePO4 battery, so it would be really useful to be able to charge the laptop battery from this.

USB-C Power Delivery

The USB-C power delivery format is actually rather clever.  If the device on the other end is happy, it can up the voltage from 5V in steps up to 20V.  This allows more power to flow along the (usually pretty thin) cable without it getting hot and even melting, as it would by just increasing the current.

However, it seems to be that a number of manufacturers are getting this a bit wrong, and potentially putting out unsafe devices which could blow up your computer or other things attached.   One of the engineers from google has been testing USB-C cables and peripherals to see if they’re up to spec, and a lot of them aren’t.

USB-C Car adapters

It’s pretty easy to do standard USB power from a 12V battery- car USB adaptors are a cheap and easy answer, you just need to attach an XLR4 connector (or whatever you’re using for power distribution), so thought it’d be the case for USB-C.

After doing a bit of research, I only really came up with one adapter which seemed to be able to deliver a reasonable amount of power (45W).  However, that’s still not as much as the laptop can use going full tilt.  This is the Targus APD39EU.  DC input spec is 11-16V so some NP1 type setups may deliver a bit more than 16V.  I expect it’s fine but they may not pay for a replacement if you blow it up.  It’s also quite a lot more expensive than most of the other USB adapters at around £60 (although I managed to snag a reduced one with damaged packaging).

Due to the fact it’s quite an expensive adapter, and a fair bit longer than some other USB adapters, instead of directly attaching an XLR4 I made up a lead from XLR4 to automotive 12V socket.

12 Adapter and cable12V automotive socket on cable

So far the laptop charges off it and nothing has exploded yet…

Tascam DR701D and HDMI DSLR Sync

Last month Tascam announced a new recorder, aimed more at DSLR self shooters- the DR701D

Although I’m yet to see one in real life, they have built in a unique feature: an HDMI input and output.  This is by no means a review, but a few thoughts on what impact this could have on workflow.

Why would you put an HDMI input on an audio recorder?
Well, it’s not just video signals which are sent over HDMI.  They need to be synchronised with the source and, in addition to that there are 8 channels of audio and time code.

There are also a number of DSLRs and cheaper cameras which lack professional inputs and outputs for time code and genlock, but do have HDMI outputs.  With a case of a lot of these cameras, it’s simply not possible to synchronise them, so more work is required in the edit (although programs such as Plural Eyes can really help).  In addition to this the inputs for DSLRs are often consumer 3.5mm minijack connections with poor analogue performance.  If they’re sent audio it usually ends up being noisy and adding another cable just adds an additional point of failure to the system.

Single Camera interview
In this situation, a sit down interview- neither the camera or sound recordist are likely to move, so attaching an HDMI cable to the recorder is fine.  This allows the recorder’s clock to synchronise with the camera’s and to receive time code (including remote roll commands).  Here both time code and the clocks are synchronised; these are 2 separate things- time code is only meta data, the clocks which determine the frame rate and sample rate of the camera and recorder require a higher frequency sync signal- genlock or word clock, here the sync signal is in the HDMI stream.  This should mean both files should be perfectly in sync throughout and the files are the same length (never before possible on DSLR shoots).

Vérité shooting (single camera)

Here it’s not really practical to be cabled to camera (especially with something as flimsy as an HDMI cable) , as both camera and sound will be moving.  What’s possible though, is to plug the HDMI into the recorder near the start of the take, then roll separately.  Time code will probably be well within a frame, however the clocks will not be synced so files will be different lengths.  This may be fine for shorter takes, but over longer periods (say, shooting events) the files lengths will differ and may need to be cut and re-synced.

There are some consumer  (and professional) wireless HDMI transmitters, which may work for this, however I think they will have a different clock on the receiver so will not have synchronised clocks.  They will also have a fixed delay time, which will have to be accounted for in the edit.

Multiple cameras

Unfortunately, this is where this workflow totally falls over.  All these cameras only have HDMI outputs, so it’s impossible to get an external time code or clock signal into them.  The only time code and clock output on the DR701D is an HDMI passthrough and I’m not aware of another box which can extract this.  For this another solution may be required, such as sending time code to an audio track on the cameras (which has no clock sync and specialist software is required to decode it), or hiring suitable cameras for the job!  A lot of times DSLRs are used as B-Cams and it’d be good to get a more professional sync solution with them, unfortunately this isn’t it.

However, the DR701D does seem to have a professional level TXCO clock generator, so could be jammed and stay in sync with more professional equipment

Molle radio mic pouch

I’ve been looking for a decent solution for this for a while now.   I’ve been using a few of the hard zip up containers Countryman mics come in for lavelier microphone and wireless transmitter storage, along with mounting accessories.  However I’ve been after something a bit bigger to put belts in so I’ve got an ‘all I need’ radio mic kit for when I need to leave set to get people mic’ed up.

After getting one of the new K-Tek stingray bags it has fabric rings for attaching military standard ‘MOLLE’ accessories.   There’s quite a lot of different kit available which is compatible with this, from army surplus and other places.

I bought a ‘medical pouch’

Inside I can get batteries, 2x countryman pouches with mics, transmitters and belts

Under the countryman pouches:

Inside the pouches:

And here’s how it can be attached to the bag:

I also often carry just one ‘main transmitter pouch’ in the front of the bag- this will just be when I’ve got this bag on its own.  It should also mount onto the waist belt.

I’ll have a look into more MOLLE accessories and see if some are useful…


HD-SDI video signal transmission

This is really just a few thoughts on running multiple HD-SDI signals along one cable- a number of production sound mixers have historically run multiple analogue sources over CAT5 cable (and even with a balanced audio return), however, the majority of video signals around set are increasingly HD-SDI, which are more fussy over the 75ohm BNC cable they’re distributed through.

My first thoughts were to up the spec of the cable, to CAT6 or CAT7, which have superior shielding, however I found that Muxlab make a passive HD-SDI balun which says it can transfer HD-SDI video over 120m of CAT5e cable.  As it only uses one pair of wires out of 8 in the CAT5e cable, I can’t see a reason why you couldn’t wire 2 (or even 4) of these baluns to run over 1 cable.  There also isn’t much to them, they’re a 75ohm to 100ohm balun transformer, however they need to work at 1.5GHz in order to transfer HD-SDI, and 3GHz for 3G SDI (and finding a suitable transformer is more difficult)

After looking at the 3G-SDI spec (SMPTE424M), I noticed there was a mode (B-DS), which allows 2 independent HD-SDI signals to be transferred in one channel.  So I had a look round for a box that could combine and split the two signals, and came across something even more powerful: Blackmagic’s SDI multiplex 4K mini converter* This allows 4 independent 1.5Gbit HD-SDI signals to be muliplexed into one 6G-SDI signal.  This will also allow for current monitors to work with fancy new 4K signals and it’ll also work as a distribution amplifier if things get a bit congested at video village (although this is not sound dept’s job).  I don’t know whether it’d be possible to run a 6G-SDI balun, CAT6 cable is capable of handling 10Mbit/s networks, however not over long distances (CAT7 would be more appropriate, if a suitable transformer could be found)

Another solution is running a quad split, where the converter box will put up to 4 different images on each quarter of the screen- a single, larger monitor could be a good solution to this, however an advantage could be to be able to get a cheaper HDMI monitor (as some have HDMI out), run the quad split close to that.  Decimator design make a number of suitable boxes for this, depending on your requirements.

*amendment- After contacting both Muxlab and Blackmagic about their 6G multiplexer boxes, they’ve both said they *should* support multiple streams, however they’ll all need to be in sync, however neither company has tested them.  So neither box has sample rate converters (or their video equivalent?) on the inputs.  I’d expect them to work if all the cameras have genlock sources on lockits

Analogue audio over CAT5 cable

Cat5 cable can be cheap, it’s pretty light and thin but surprisingly well shielded with 4 twisted pairs in there which will all resist interference.  It also has 100 ohms impedance, which isn’t far off the AES/EBU standard of 110 ohms, so should be able to carry digital audio a fair distance.

So I’ve done a bit of a make and an experiment to make a lightweight 4 way multicore:

I got a couple of Neutrik NE8-FDY-C6-B connectors- these are fairly easy to assemble, there’s instructions on the site, and don’t even need a soldering iron- just some snips, really.  You could probably prep one with your teeth if in a desperate situation.
On the other end I attached 4 XLRs

As they’re not meant to be cable mounted (and there isn’t an appropriate connector) I had to improvise with sugru and heatshrink

Anyhow, they work and with shielded CAT5 cable (you have to look quite carefully at the specs, most isn’t) they’ll work with phantom power too.

There are also a few commercially available solutions for audio over cat5, the “balun” boxes don’t usually do any more than this.

I’ll hopefully have another make done next week (you wait ages for one…)

4 channel mini line mixer – nearly there

I’ve been working on a design for a small line mixer since January, on and off. I’m getting pretty close now- I’ve got a working circuit and managed to get the enclosure design working. I need to make a few tweaks to the board design, as some components need to be moved in order for it to fit in the box

This particular one is an unbalanced design, with 4 inputs over 2 mini XLR inputs, outputting to a single mini xlr output. The reason for this is to work with my Sonosax recorder and mixer, in order to be able to be able to add the recorder’s 4 XLR inputs to a mix (on the bus in for the mixer) and still record pre-fade ISO tracks.

The holes at the top are for L-C-R panning switches, which will need to be glued into place (one’s actually on the table in the photo above to the left).

I’ve made sure to use high quality components in the circuit- resistors on the inputs are matched within 0.1% tolerance and high quality op-amps have been used. The most expensive parts were the sfernice conductive plastic potentiometers, though.

There’s no internal batteries, but it will run on sources from around 9-16V, with the internal regulator providing +15 and-15V for the op-amps

Here’s how it fits in the bag.

It shouldn’t be too different making a balanced design using 5 pin mini XLRs- I went through one in the design process. There’s also a headphone amp on the board, I’m wondering where I can squeeze a 3.5mm jack and a small level pot in there.

As the boards are being fabricated I may be able to sell some of these as kits, if it’s useful to anyone else

Won something!

I found out last week that a little short film I did, Best directed by William Oldroyd won the Sundance London short film competition. Unfortunately (thanks to the masses of Pink fans at the Millenium Dome) I managed to miss the screening, but got to see some of the other shorts and have a chat with some of the other directors and crew involved.

It was shot really quickly in an afternoon on DSLR with a very small crew, with the actors getting changed in a nearby cafe and, although the church knew we were shooting a film there, they didn’t know what the content was.

http://www.sundance-london.com/blog/short-film-competition-winner

Here it is; some people may find it offensive, it might not be safe for viewing at work

BEST from William Oldroyd on Vimeo.

Since then I’ve done another short with William- Wanted: Murderer, where I also did the post mix.

Travel NP1 charger

I’ve been looking for a small NP1 charger for a while- something which came to mind after I’ve had a few jobs where I’ve been away for a few days and didn’t want to take my big 4 bay one.

I think I’ve found quite a neat solution after finding some 14.4V Li-Ion chargers on ebay being sold by Audioroot (French company which makes high-end power distribution systems and portable microphone preamplifiers).

I bought a couple of these (one’s going spare if anyone’s interested) and soldered on a female hirose socket (HR10-7J-4S) so I can just attach an NP1 shoe with a hirose plug.

It also *may* work with the unregulated flying lead on the Hawk Woods battery distributors, but I’ve emailed them to confirm- so I don’t blow something up