Large Feedback Instrument #1

I do quite a bit of mucking about with no-input mixer setups, it’s usually my little Tapco Blend 6, but started running short of Aux sends (independent outputs from the main output on a mixer) and started thinking of what you could do with more…

I had a look round and the only mixing desks you could readily get with this were desks designed for monitor engineers and they were big, or there’s the A&H Mixwizard 12M which looks just about ideal, apart from the price. I had a look into matrix mixers (which are essentially just aux sends) and found either were no longer available in the case of the Mackie/Oz Audio HMX-56 or again expensive (Midas XL-88)

Looks like it’s a homemade job then…

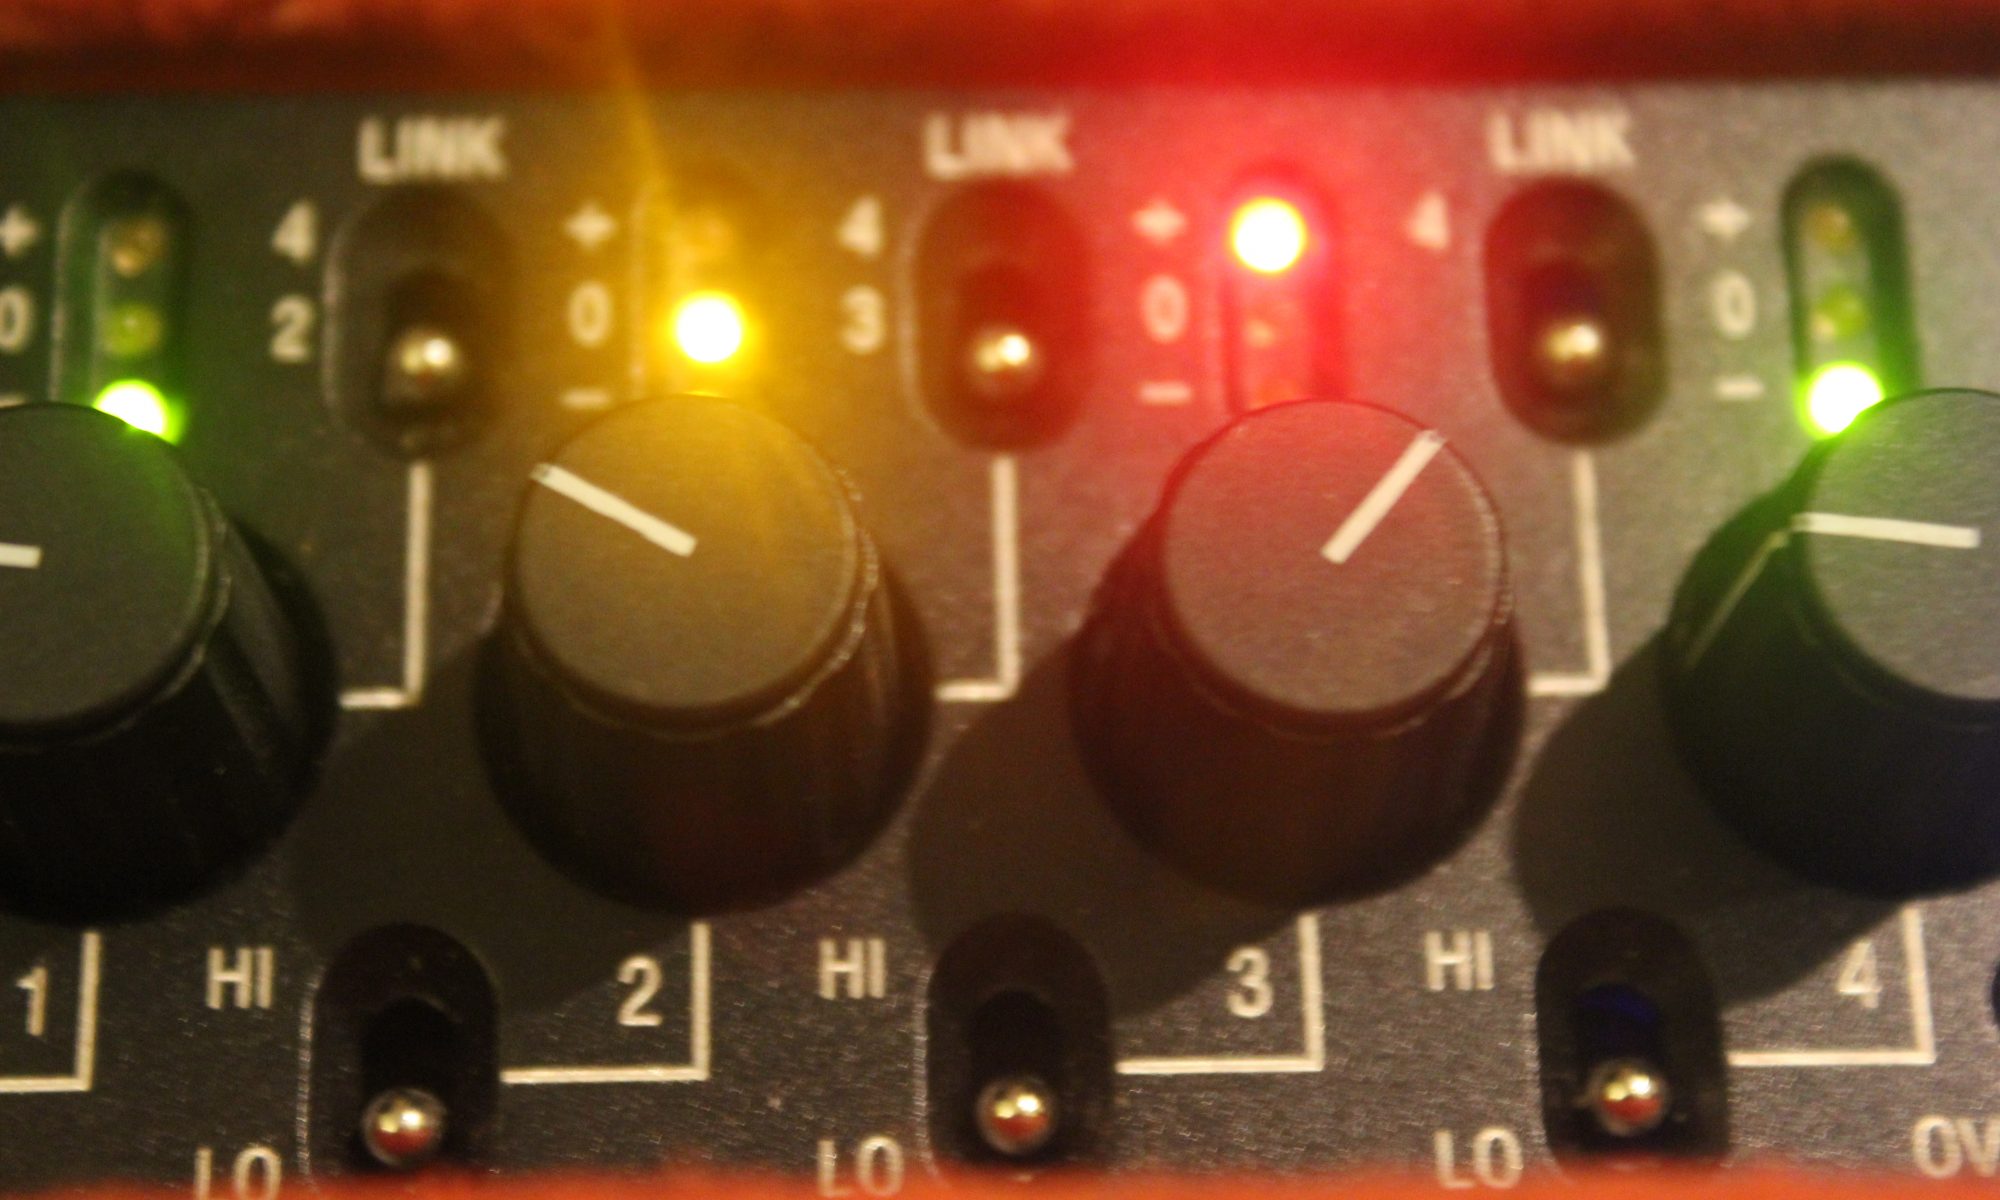
I’d been looking up matrix mixer schematics and experimenting on breadboard until I came across some input modules on ebay (NOS) for a DDA CS12 monitor console, for not much money at all (and the schematics are online).  Ended up buying 2 of them (8 channels each). They have 12 aux sends per channel (more than enough).

Then looked into sourcing the stuff to make them work which was quite a bit more difficult.  Found each channel is connected up and powered with a ribbon cable, which happen to be the same connectors as on a floppy drives (great!). But I needed at least 8 nodes and a way of hooking them up to a power supply (needing +18V 0V -18V and +48V rails).  DIY job. Bought an IDC crimp, some lovely retro rainbow ribbon cable  and some IDC headers (which took 3 months to get here from China and most parts were already broken…)

And I needed to power the thing. Replacement linear power supplies for mixers like this are big, heavy and expensive things and I wanted the desk to stay portable.  You can’t usually get switching power supplies with two rails (or at least I couldn’t find any), so instead I bought 2 18V PSUs and wired them so 0V on one and +18V on the other were soldered to the same plug, making that 0V, so 0v on the ‘low’ power supply was now .  An XLR seemed to be the only 3 pin connector I had handy so soldered them to this (let’s hope I don’t ever plug this into a mixer or similar.


After counting (and double checking) the number of each strand on the ribbon cables (the rainbow effect was very handy), I separated out all those connected to power and put them on another XLR.

After also crimping on 8 IDC headers and plugging them into the PSUs they started making a bad clicking noise.  Something was shorting out.  After going through the XLR connections multiple times to make sure something wasn’t touching it turned out one of the crimps wasn’t in line and was shorting out adjacent cables.

After the cable was taken apart and put together I found most of my IDC headers were now completely broken…  Fortunately one was left so I plugged it in.

It’s alive!

Next steps are (when I’ve got more headers) sorting out the outputs.  I’d got hold of a Mosses and Mitchell B-Gauge patchbay I was going to use for this (with patches going back to the line in), but on second thoughts everything it’ll be plugged into will use A-Gauge jacks so might get one of those instead.

Cabling and Commerce

Recently I’ve been making quite a few cables, including my own camera umbilical and tails. This has been a new adventure into soldering smaller connectors with more pins, but it’s no more difficult than putting standard electronic components onto a board really. The scary thing is paying over £10 per connector in some cases.

Anyway, after I’d bought 100m of mic cable and some connectors in bulk I thought I’d offer some to friends for a reasonable price. As that seems to work I thought there’s nothing to lose in offering it to the general public, so here’s my shop.

www.rtsound.vendder.com

It’s all good quality stuff (same that I’m using), Neutrik, Hirose, Switchcraft etc connectors, nice flexible cable

After a few requests I’m also doing contact microphones and coils. Contact Mics are sealed in Plasti-Dip (Nicolas Collins style), so should last a bit longer and be slightly waterproof (although I can’t guarantee this)

There should be most common configurations of cables and connectors up there as options, but please send me an email/DM for any custom requests. I’ve also got an IDC crimp so should be able to do replacement ribbon cables for things like Mackie mixers and Pro Tools TDM connectors

Grip

Since starting to do things involving cameras as well as microphones, there are situations where you don’t only have to get the microphone in the right place, but hide it too.

From recommendations mentioned on taperssection.com for the last couple of years I’ve been using Manfrotto 5001B light (as in holding up lights) stands for microphones, as they’re small and lightweight and can extent up to almost 2m

It just so happens that there’s masses of equipment designed for getting cameras and lights in the right place.  Fortunately (and usually just with a 5/8″-3/8″ adapter) you can also use them with microphone mounts too.

Some of the more useful things seem to be the Magic Arm (Manfrotto and Arri do one):

this has two ball and socket joints on either end which lock in place when the cantilever is tightened.  You can attach it to other stands and objects with clamps or attach it to a backlite base and use it like a (more flexible) low boom stand.

For lighter loads the Flexible arm will do a similar job

Also, if you need to attach microphones to flat surfaces (or wish to climb skyscrapers, human-fly style) here’s a dubiously named ‘Pump Cup’.

Basic Location Kit

I’ve recently had quite a full-on, but really enjoyable and informative week at the NFTS doing their location recording short course under the tutelage of Mervyn Gerrard.

One of the things that I’m looking at is what kit is required for location work for video, here’s some stuff I’ve gathered from the course and various forums etc:

1x Field Mixer

This is a similar piece of kit to any other audio mixer, except they’re made to be operated from a bag (therefore battery powered and light) and most can probably survive being run over by a van.  Most also have high quality and  clean preamps (which also may lend themselves well to recording acoustic music) and very good limiters (you need these).  They are also the heart of all your routing and monitoring, you can send feeds to recorders, camera and also monitor returns to make sure it’s being recorded.  Mixing for dialogue can be quite a different kettle of fish to music, in order to minimise background noise and to keep a relatively high level you need to switch between microphones quickly, anticipating who is going to speak next whilst keeping a constant level of background noise.  It’s also rare that you actually mix to stereo (only usually for fx).  Most dialogue is mixed to two mono tracks.

2x Boom mics

This is the way you’re going to get the best quality sound and the only way you can achieve a sense of auditory perspective as you can change the microphone position with the camera shot.  Typically you’d want to have a hypercardioid microphone (picks up less reflections indoors) and a short gun microphone which has greater rejection of sound coming in off-axis, although if one fails you could use the other.

As for booms, you generally want the lightest possible boom of the length that is likely to be required for the shots you will be involved in.  Longer booms require a separate boom operator for two handed use.

You’ll also require a suspension and a windshield (foam will do for indoors) to reduce noise from moving the boom pole around.

These microphones may also be planted (hidden amongst props) or used from fixed stands if the subject is not moving

3x personal mics
2x radio transmitters/receivers

These are small lavelier microphones which can be connected and hidden in a person’s clothes. They are usually omnidirectional so pick up sound from all directions.  They are usually used when there would be no way of using a boom or plant microphone as they provide a close perspective at all times.  They are often used in conjunction with radio transmitters and receivers- it’s an important point to remember that radio transmission (even though it can cost over £2000/channel) is less reliable than a cable.  Radio systems with full diversity offer a higher level of redundancy to those without.  It’s also best to have a spare lavelier microphone in case of failure.

2x Headphones

These are your only way of hearing what you are recording, get a closed back pair so you can block out sound from outside (and don’t get any with noise reduction- it’ll process the sound you are recording).  Get a spare, if they fail you’re in trouble.

1x Bag

You need an easy way of carrying that stuff around with you so you can operate it and access cables easily.  Here’s a video on a basic sound bag from B&H (big shop in New York run by orthodox Jews).

Batteries

Make sure you’ve easily got enough to cover the day- there are also centralised power options (often based on NP1 batteries), although you can also buy a Li-Ion battery and sorting the cabling out yourself.

Recorder

Depends on your workflow but a separate recorder can be useful for a backup and wild tracks.  If you’re working on a separate system to video it’ll have to be syncronised.  This can be done with timecode jam sync boxes (if the recorder and camera support them)

Cables

Here’s the boring (and heavy part).

You’ll need all the cables to connect up your mixer to camera and/or recorder (usually a Hirose/Tajimi umbilical with detachable tails), plus:

4x long XLR cables (around 10-15M, for plant mics and feeds)
2x short XLR cables (3-4m for boom)

Adapters (it’s likely that you may have to plug into unexpected equipment) :
2x XLR-RCA
2x Minijack/Jack-XLR
2x Jack/minijack-RCA
XLR “Y” splitter
XLR-BNC
BNC-RCA

+ -10 to -60db XLR pads and ‘sex reversers’

Toolkit- Multimeter (cable and equipment testing), toolkit- screwdriver, pliers etc

1x Boom Stand
1x Magic Arm (grip equipment for attaching microphones to light stands, chairs etc)