I’ve recently had quite a full-on, but really enjoyable and informative week at the NFTS doing their location recording short course under the tutelage of Mervyn Gerrard.
One of the things that I’m looking at is what kit is required for location work for video, here’s some stuff I’ve gathered from the course and various forums etc:
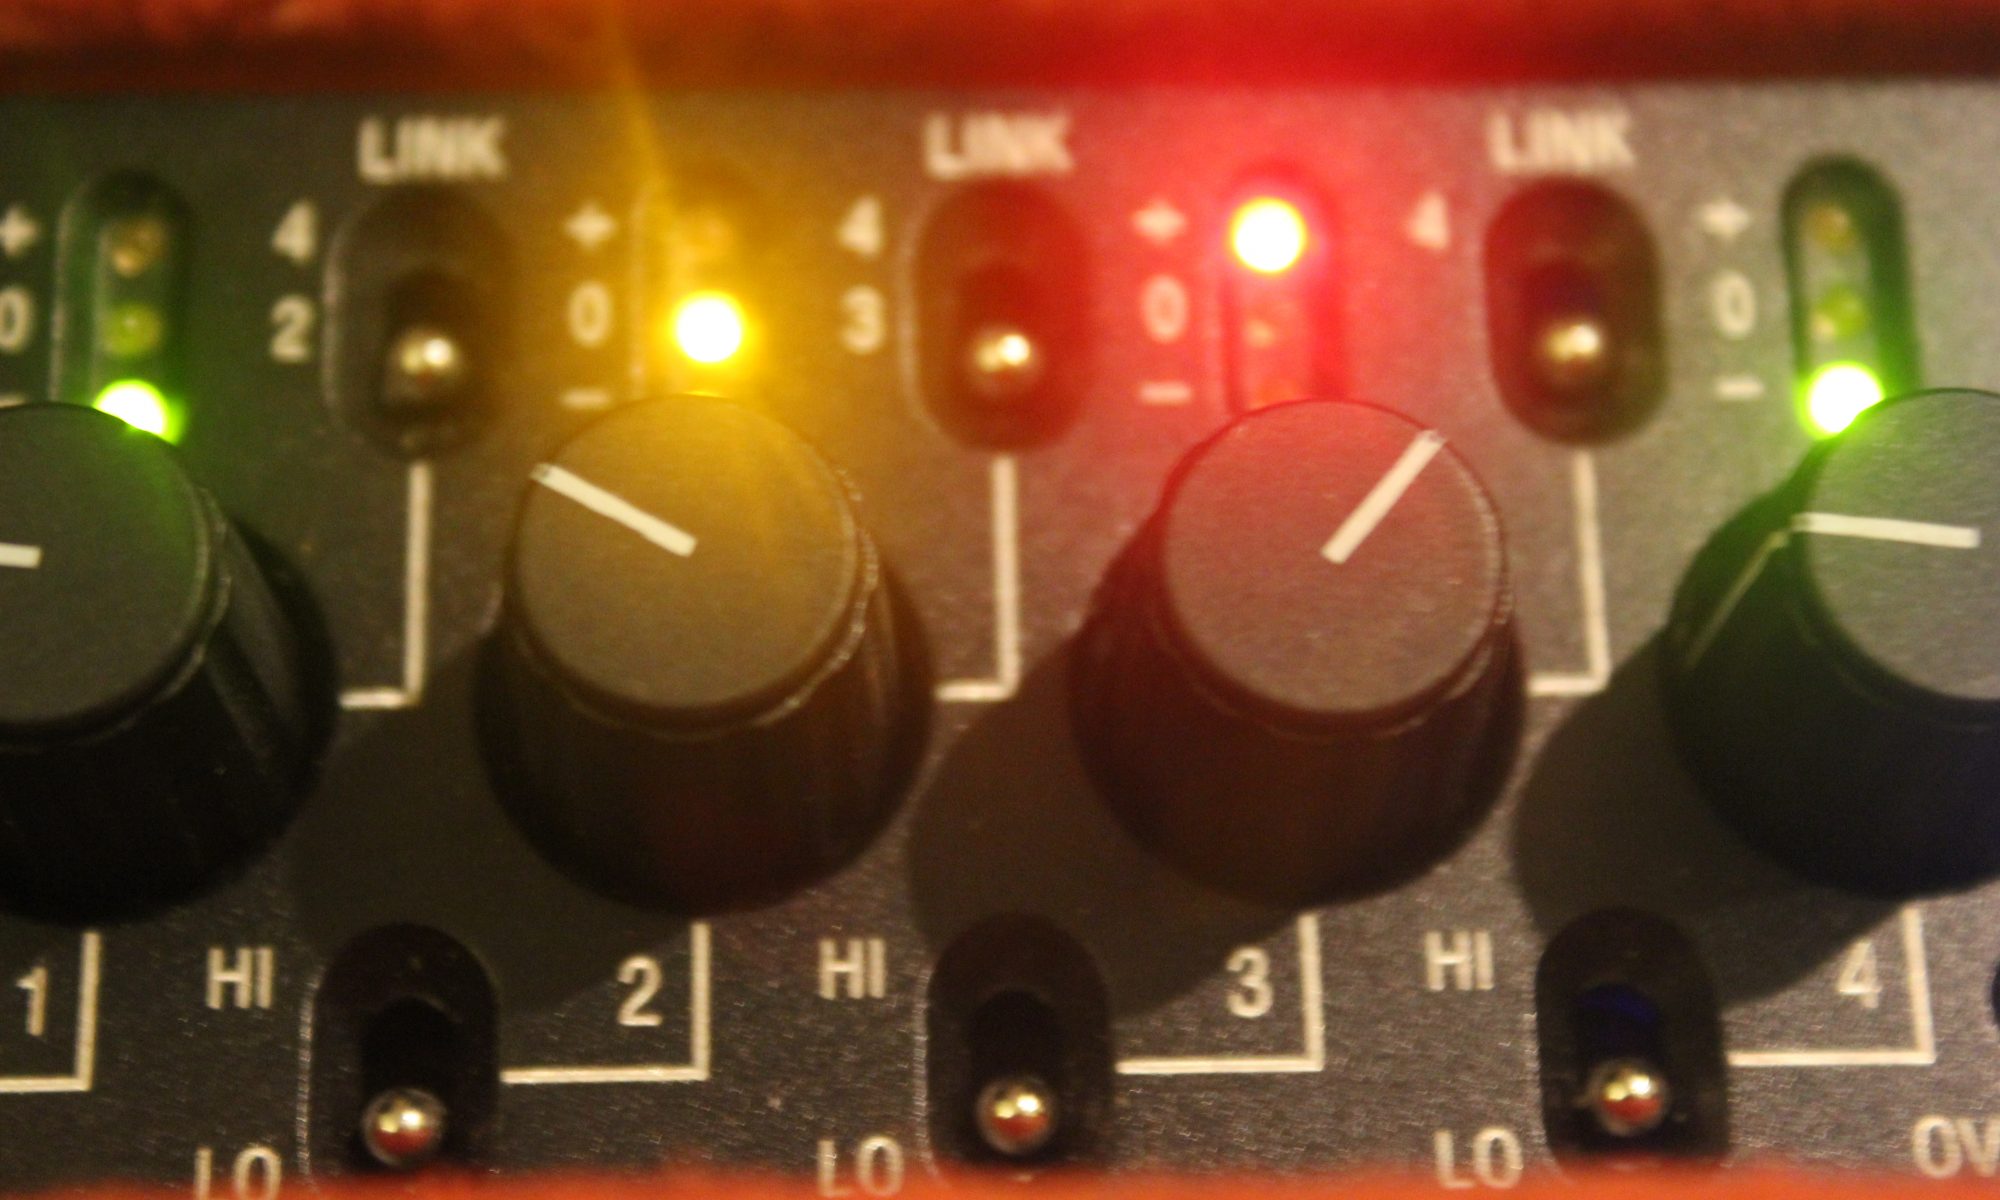
1x Field Mixer
This is a similar piece of kit to any other audio mixer, except they’re made to be operated from a bag (therefore battery powered and light) and most can probably survive being run over by a van. Most also have high quality and clean preamps (which also may lend themselves well to recording acoustic music) and very good limiters (you need these). They are also the heart of all your routing and monitoring, you can send feeds to recorders, camera and also monitor returns to make sure it’s being recorded. Mixing for dialogue can be quite a different kettle of fish to music, in order to minimise background noise and to keep a relatively high level you need to switch between microphones quickly, anticipating who is going to speak next whilst keeping a constant level of background noise. It’s also rare that you actually mix to stereo (only usually for fx). Most dialogue is mixed to two mono tracks.
2x Boom mics
This is the way you’re going to get the best quality sound and the only way you can achieve a sense of auditory perspective as you can change the microphone position with the camera shot. Typically you’d want to have a hypercardioid microphone (picks up less reflections indoors) and a short gun microphone which has greater rejection of sound coming in off-axis, although if one fails you could use the other.
As for booms, you generally want the lightest possible boom of the length that is likely to be required for the shots you will be involved in. Longer booms require a separate boom operator for two handed use.
You’ll also require a suspension and a windshield (foam will do for indoors) to reduce noise from moving the boom pole around.
These microphones may also be planted (hidden amongst props) or used from fixed stands if the subject is not moving
3x personal mics
2x radio transmitters/receivers
These are small lavelier microphones which can be connected and hidden in a person’s clothes. They are usually omnidirectional so pick up sound from all directions. They are usually used when there would be no way of using a boom or plant microphone as they provide a close perspective at all times. They are often used in conjunction with radio transmitters and receivers- it’s an important point to remember that radio transmission (even though it can cost over £2000/channel) is less reliable than a cable. Radio systems with full diversity offer a higher level of redundancy to those without. It’s also best to have a spare lavelier microphone in case of failure.
2x Headphones
These are your only way of hearing what you are recording, get a closed back pair so you can block out sound from outside (and don’t get any with noise reduction- it’ll process the sound you are recording). Get a spare, if they fail you’re in trouble.
1x Bag
You need an easy way of carrying that stuff around with you so you can operate it and access cables easily. Here’s a video on a basic sound bag from B&H (big shop in New York run by orthodox Jews).
Batteries
Make sure you’ve easily got enough to cover the day- there are also centralised power options (often based on NP1 batteries), although you can also buy a Li-Ion battery and sorting the cabling out yourself.
Recorder
Depends on your workflow but a separate recorder can be useful for a backup and wild tracks. If you’re working on a separate system to video it’ll have to be syncronised. This can be done with timecode jam sync boxes (if the recorder and camera support them)
Cables
Here’s the boring (and heavy part).
You’ll need all the cables to connect up your mixer to camera and/or recorder (usually a Hirose/Tajimi umbilical with detachable tails), plus:
4x long XLR cables (around 10-15M, for plant mics and feeds)
2x short XLR cables (3-4m for boom)
Adapters (it’s likely that you may have to plug into unexpected equipment) :
2x XLR-RCA
2x Minijack/Jack-XLR
2x Jack/minijack-RCA
XLR “Y” splitter
XLR-BNC
BNC-RCA
+ -10 to -60db XLR pads and ‘sex reversers’
Toolkit- Multimeter (cable and equipment testing), toolkit- screwdriver, pliers etc
1x Boom Stand
1x Magic Arm (grip equipment for attaching microphones to light stands, chairs etc)