I’ve owned a Sonosax SX-R4+ for around 6 months now and I generally stand with what I said in my initial review: the machine has been a pleasure to use, sounds fantastic and has a lot of recording power in a small box. I’ve managed to get by with it on its own in a number of situations but with the v2 firmware it really opens up the machine and removes these limitations.
This is based on a v2.0 release candidate version of the firmware (which won’t be publicly released), there’s been a few bugs ironed out of this and v2.1 should be up on the website very soon.
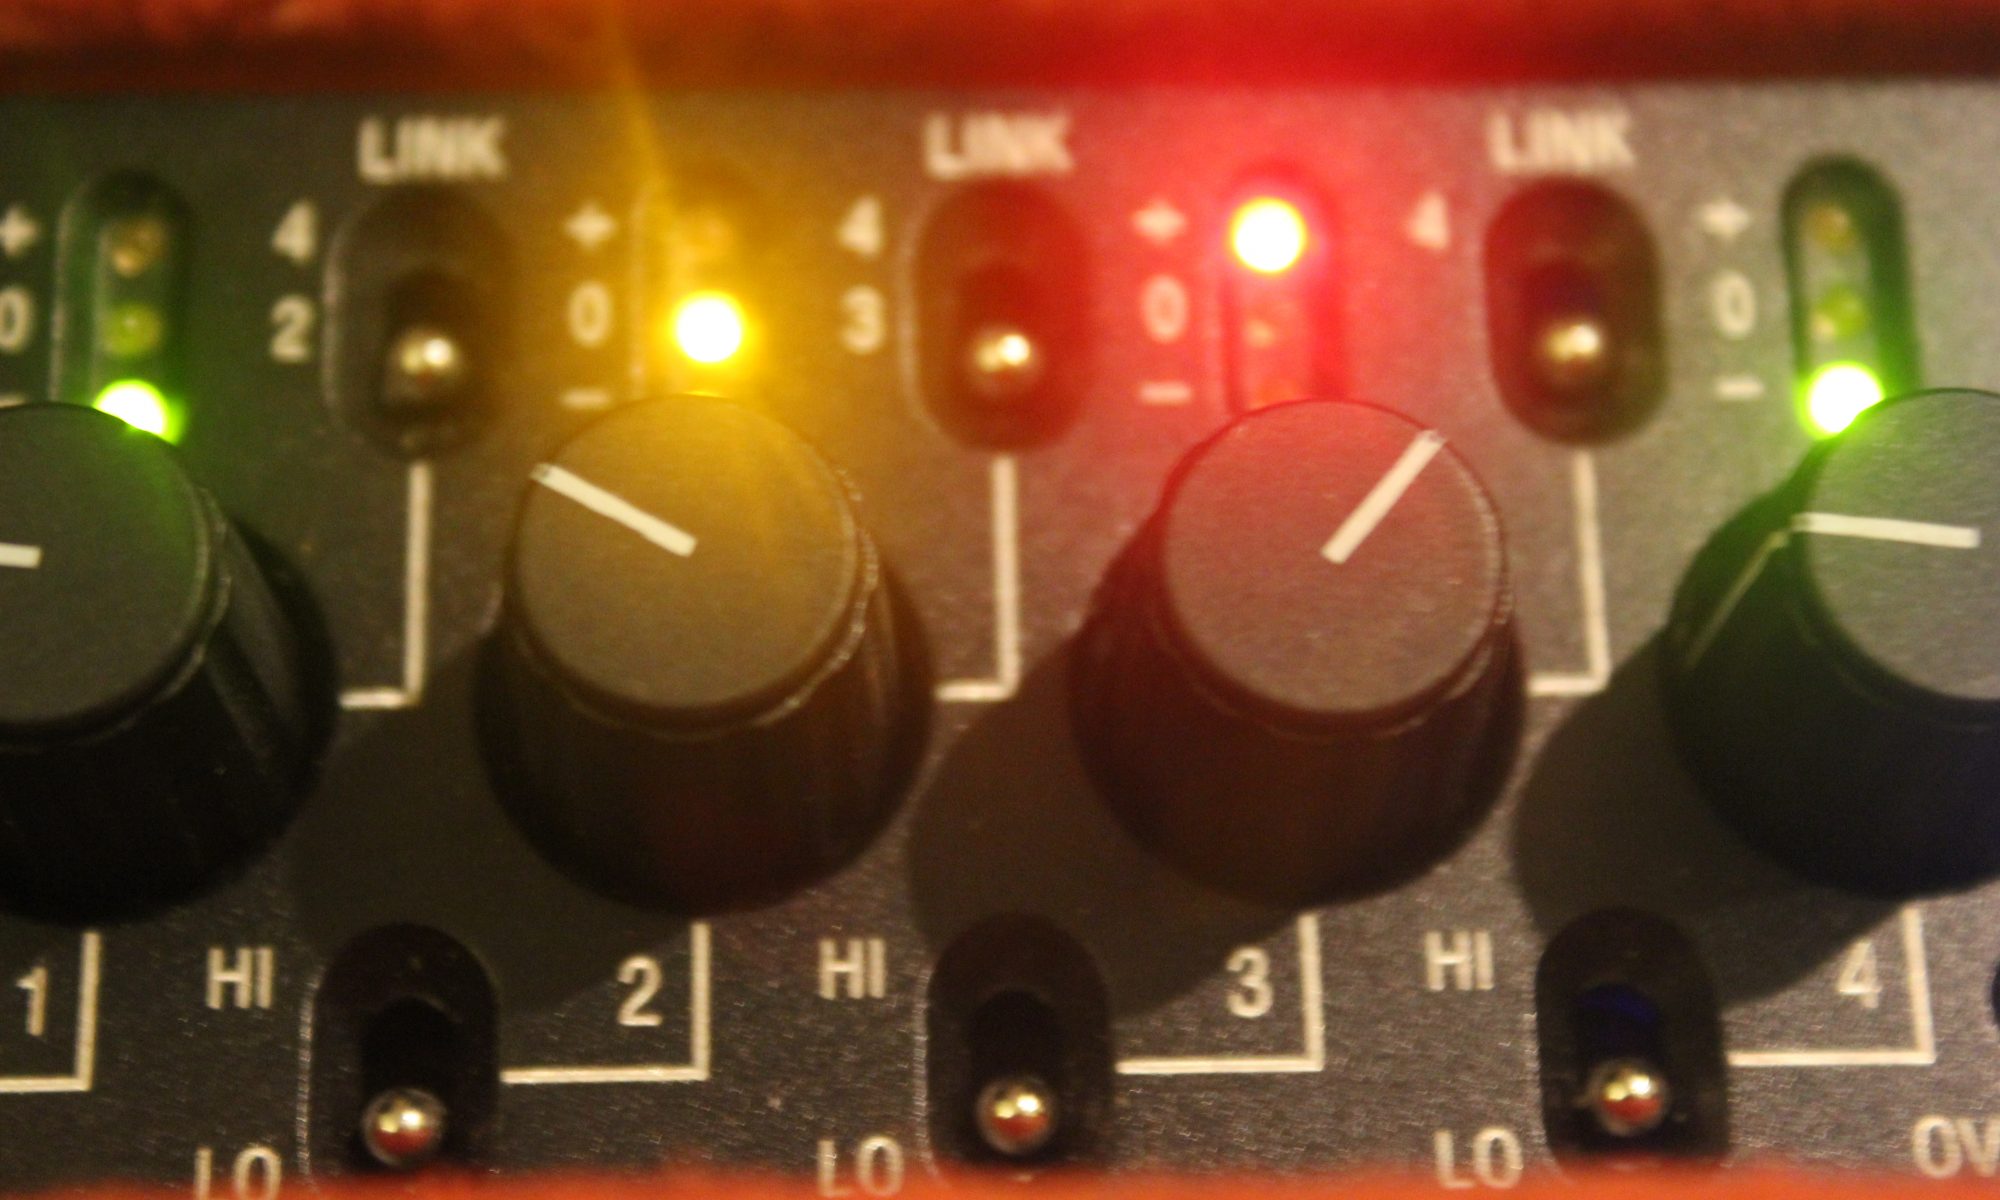
Faders
This is the big one, so I’d better get this out of the way first. In v1 of the firmware the 4 main knobs on the front are ‘hard set’ to gain control of whatever the 4 XLR inputs are. Although it was possible to mute at zero and control gain ranges (so it was possible to mix on them), the ISO track levels would also change- so post would have to undo these gain changes.
Now this is no longer the case: the v2 firmware has “fader modes”. 2 different fader curves are available -60dB to +12dB (with a steeper rolloff at the bottom) and -60dB to +24dB (linear). Both mute at -60dB.
Faders are assignable to tracks on the mix configuration screen, and single faders can be assigned to multiple tracks for stereo or surround work or even as groups. This also now allows me to run my radios (Wisycom MCR42) in AES3 as before the gain was fixedto being ganged across both AES3 channels on each XLR. It’ll also allow me control levels using the AES3 inputs on the accessory port (when I’ve sorted out the cabling)
If a fader is not assigned to a channel which is assigned to mix, then it comes through as if the fader is at 0dB. It’s possible to mute by changing the mix assignment (which is possible while recording)
Gain structure
So, how do you set gain and fader level with only one knob? As default the push buttons on each knob are the input settings and PFL for each XLR input (long press can also be assigned), so whatever’s going into each of these channels can be soloed and gain adjusted with the menu knob (gain is the initial setting on the input screen). Here’s a video:
Also, due to the high dynamic range of the converters it’s possible to set gain very conservatively and set up the mix tracks to be up to +20dB higher than the ISOs. With another 24dB available at the fader it’s possible to work with 44dB of headroom with unnoticeable loss on the ISO tracks if desired. With the AES3 inputs you’re limited to what happens on the analogue end of whatever you have plugged in, but can have them come in a 0dB and again boost in the mix. An issue however with setting ISOs this conservatively is it become difficult to PFL as there’s such a big difference. Personally I might only use these more extreme settings for scenarios where there may be more extreme dynamic range.
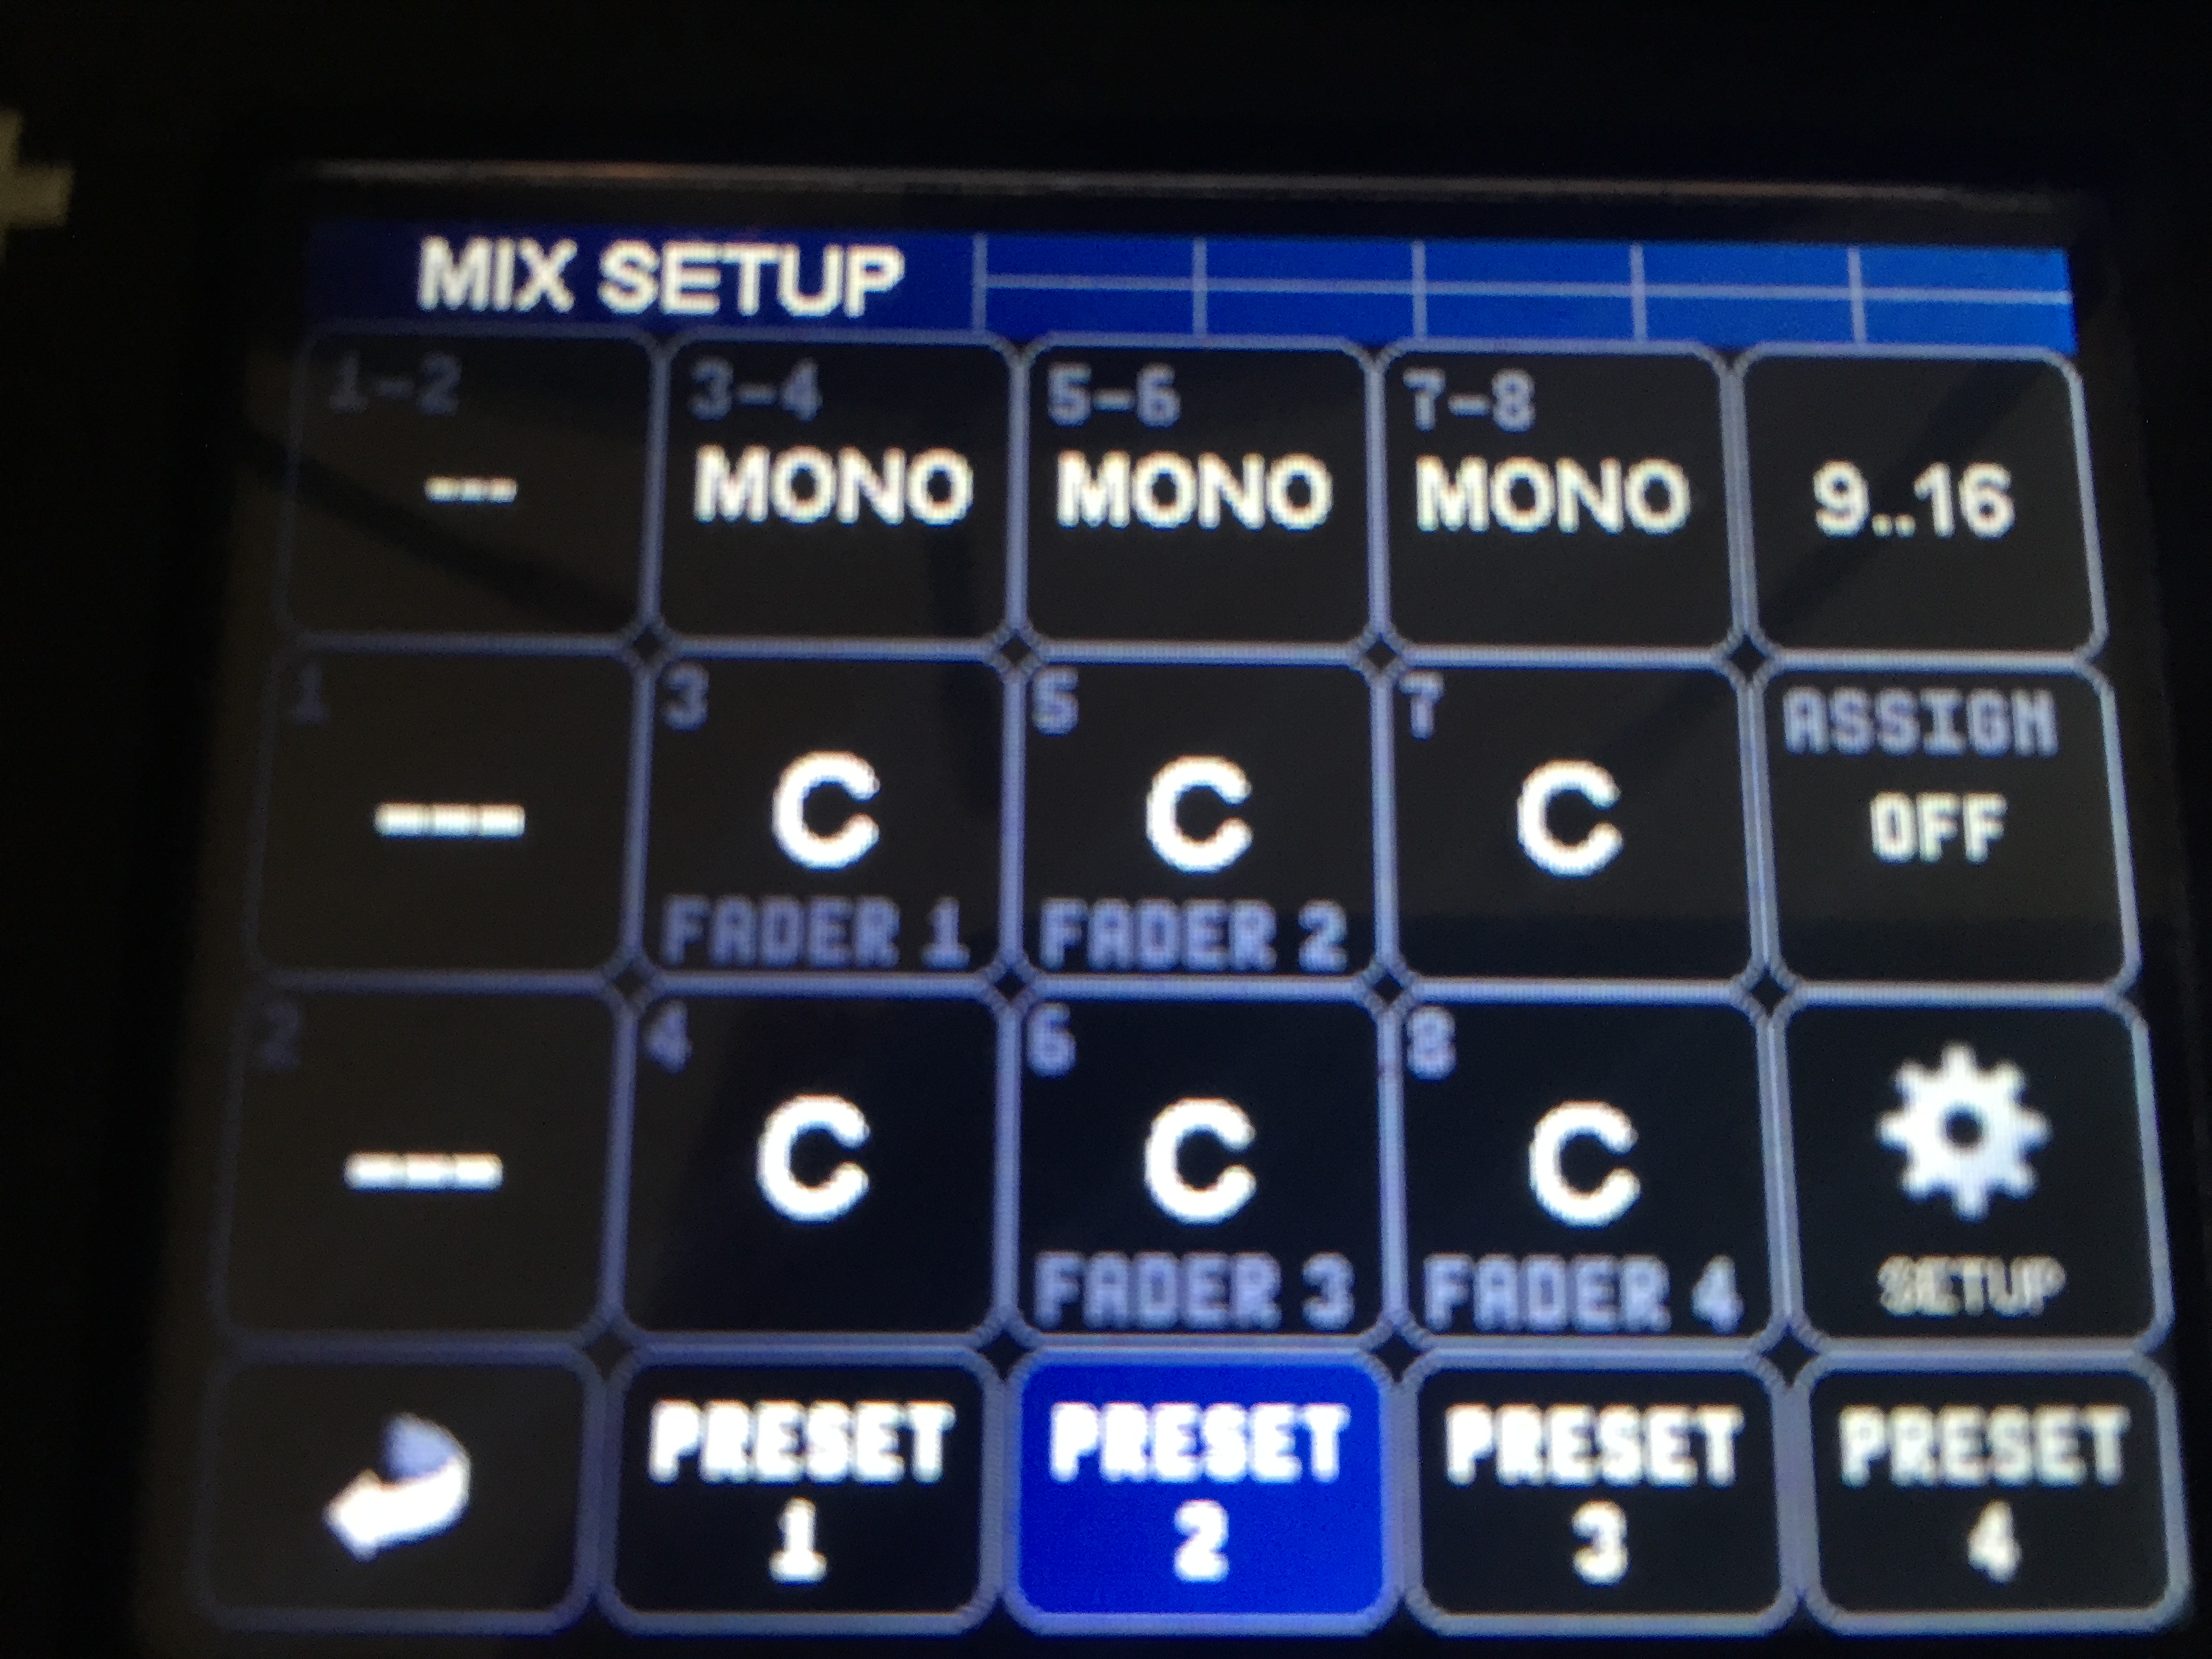
Routing Setings
Routing works so that inputs (and mix tracks) are assignable to any 1 of 16 tracks. These can then be assigned to 2 mix tracks, or any of the outputs on the machine. Again, anything can be assigned to anything. There’s also due to be a new output board released soon with an XLR5 connector, switchable between 2 channels of balanced analogue, 4ch of AES3 or unbalanced analogue out. This gives a total of up to 8 outputs over a combination of unbalanced and AES3. Something I have noticed is that it’s not possible to send individual channels post-fade to outputs, though- which could be useful for mix-minus.
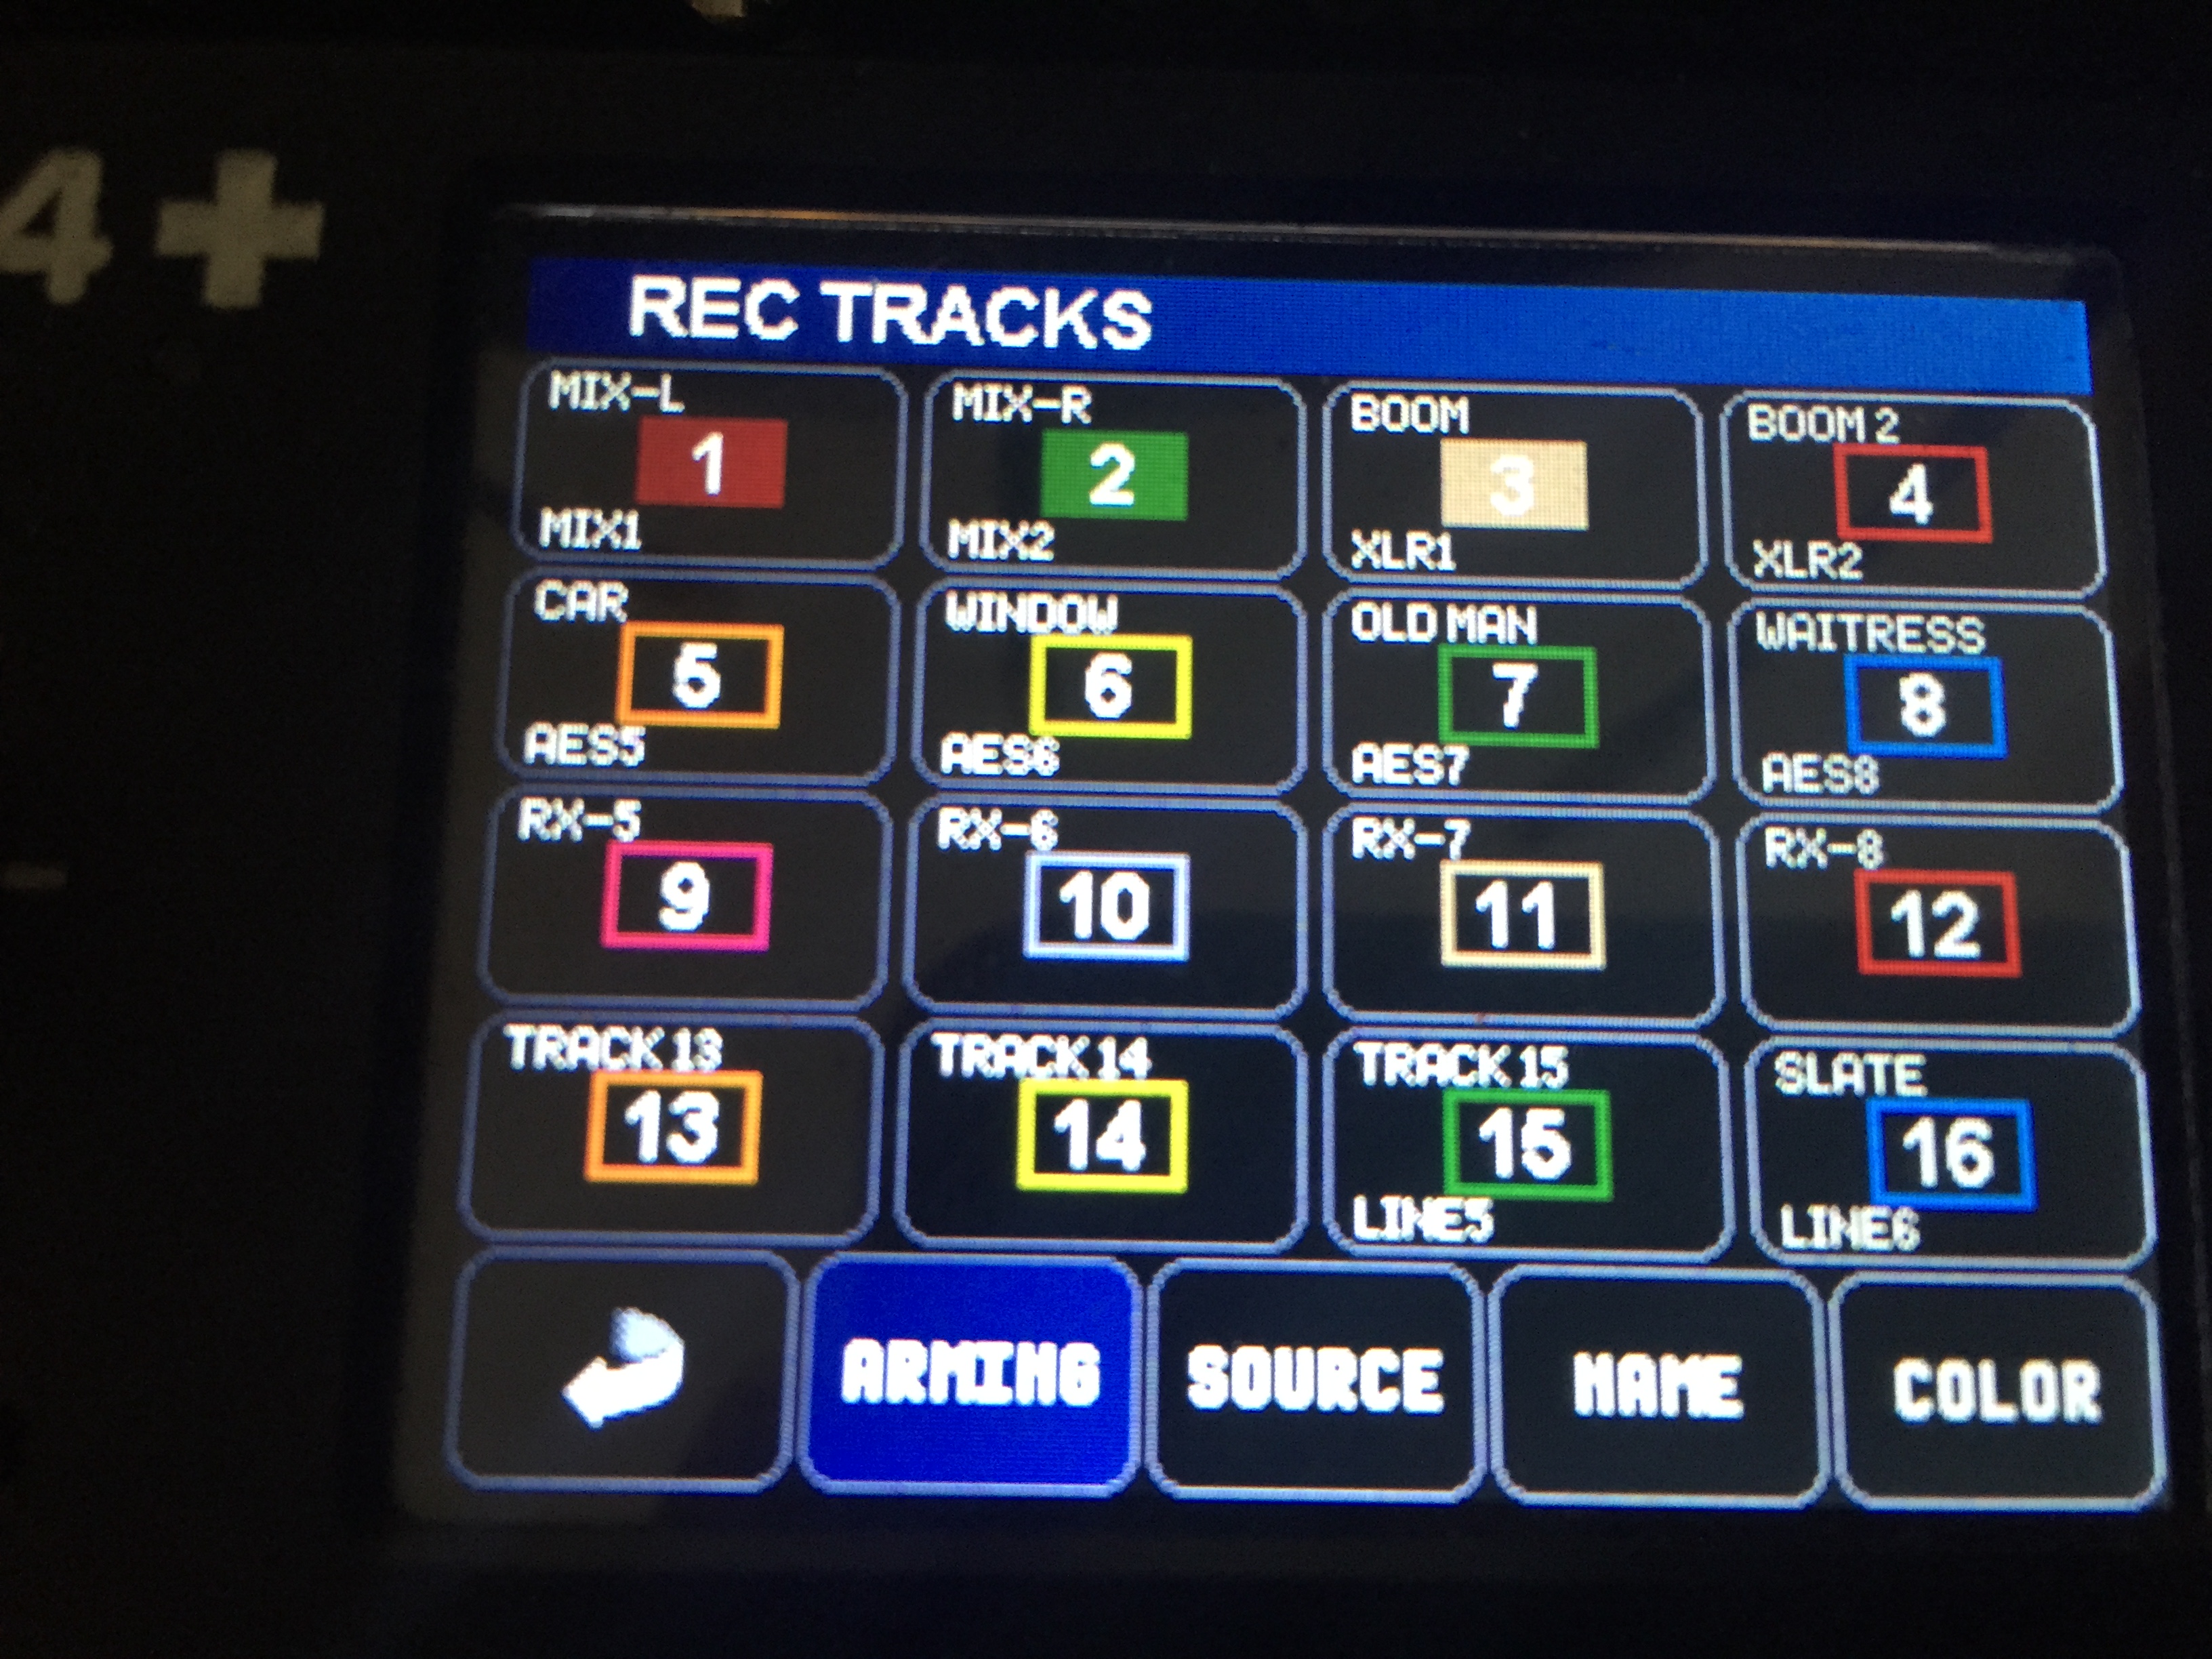
Although it’s now possible to separately assign the inputs, faders and outputs, it’s reasonably easy to keep a handle on what goes where. The new colour coding to channels also helps. The record tracks matrix shows input, track name, arm and colour. Mix menu and output menus also show track assignments and have recallable presets
User Interface
I found I could navigate this recorder very quickly using the v1 firmware, however more programmable buttons and features have come online in the v2 firmware. All buttons (7) and 5 touchscreen areas can be programmed to perform different functions with both short and long presses. Shortcuts for channel muting is also something which isn’t there and I can see that being useful The Mix setup screen has also been brought up a level in the menu to the main screen.
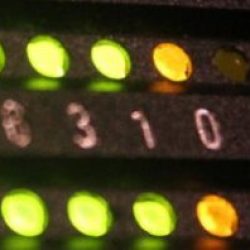
Sound Reports
The R4+ now generates sound reports straight to the SD card. Currently all the metadata is there, but the headers aren’t customisable. It’s generated automatically as an HTML file so readable in any web browser (javascript does need to be turned on to read it). I also looked for a ‘generate sound report’ button and couldn’t find one. However I just found the report to be generated on the SD card and is updated on the machine continuously.
Here’s an example report:

Comparison
At first glance this machine looks like it’s something similar in size and capability of the Sound Devices 633 or Zaxcom Maxx, however there’s quite a lot more crammed into the box. The interface feels more like a larger recorder such as the Zaxcom Deva and as long as you have access to digital outputs or with an ADC it has the power to be used behind a bigger mixer and be able to deal with complex drama jobs. I don’t believe there’s anything else that can cram so much mixing and recording power into such a small space.
A feature it doesn’t have compared to the Sound Devices 688 and Zaxcom Nomad however is some kind of automixer, and although the control surface was announced a while ago now, both Sound Devices and Zaxcom have their own control surfaces released. When I had my hands on the pre-release physical mockup I found it had super smooth faders but was a bit cramped.
The R4+ does, however have a considerable amount of DSP power inside, though- so can potentially see additional features being added